
Well hello there reefers and future reefers! Thank you so much for popping by my blog to find out more about my experience with the Studio 12 all-in-one reef tank and saltwater startup kit from Reef Casa.
In this post we’ll be getting the tank wet and getting the party started. We have several topics we’ll touch upon including the stand, electrical considerations, the rockscape, the sand, the tank’s chambers, the saltwater, and the beneficial bacteria that we’ll be adding to kick start the nitrogen cycle.
Choosing a Stand for Your Reef Tank
When choosing a stand, key factors to consider include the dimensions of the tank and the weight of tank with water.
- Remember one gallon of water weighs about 8 lbs, so the Studio 12 will weigh roughly 100 lbs.
- With bigger tanks, this can be a much bigger challenge, but since this tank is small there are lots of options, it may be light enough to set up on a countertop or a sturdy desk.
- If you want to take it to the next level, I believe Reef Casa has a custom stand that looks very nice… check out their website for info.
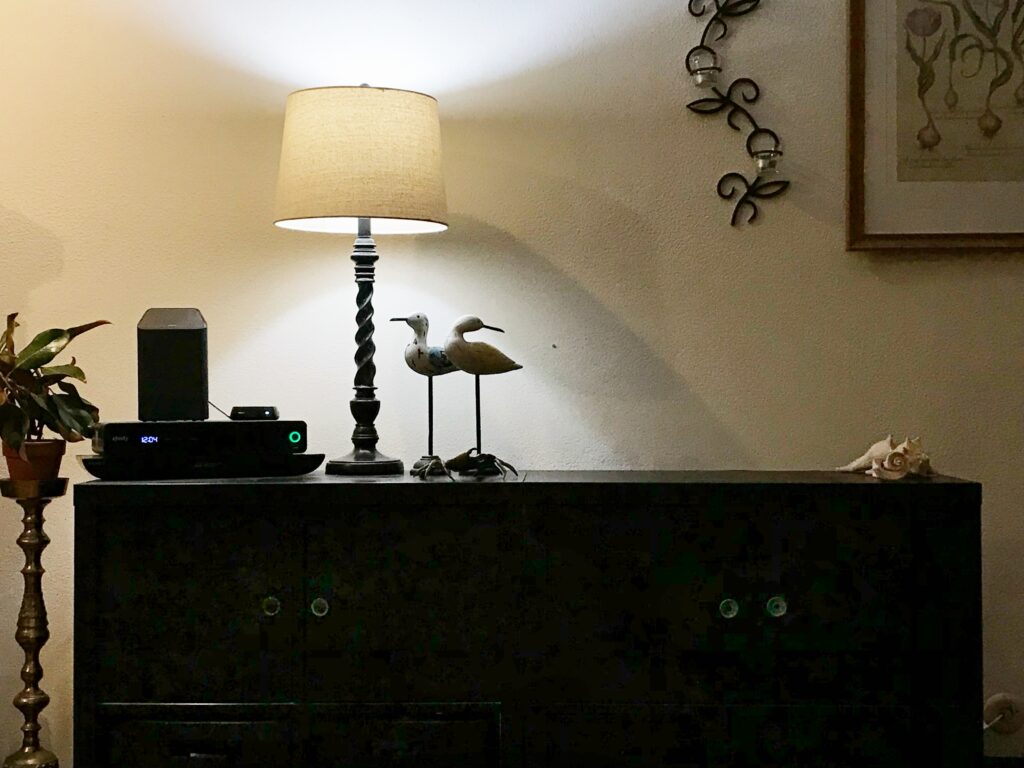
- In my case I am using an Ikea Kallax shelf that I was previously using for my Biocube 16 for nearly 5 years… this tank fits perfectly on the Ikea shelf, it’s definitely a good option I would recommend.
- Please note, if you do use this type of shelf, you may want to position it with the longer stretches on the top and bottom so they are resting on the side pieces to help distribute the weight. If you have it turned the other way, the weight could put a lot of pressure on the screws. I’m not sure that will matter with a smaller tank like this that isn’t too heavy, but I like to err on the side of caution myself. (I actually replaced my 4×2 Kallax shelf with two 2×2 Kallax shelves side by side so I could orient them this way.)
- As you can see I added door inserts for hiding equipment/supplies; I cut a hole in the back of one of the inserts for cords, and I added handles to fit our decor.
- You may want to add a protectant like polycrylic to prevent water damage… be sure to use one that’s compatible with the type of finish on your stand… I didn’t use a protectant on this stand, but I did on one of my other tank stands and it’s nice to have the extra protection from inevitable drips and spills.

Electrical Considerations
- You will want to set your tank up fairly close to a power supply, since there are lots of components you will need to plug in.
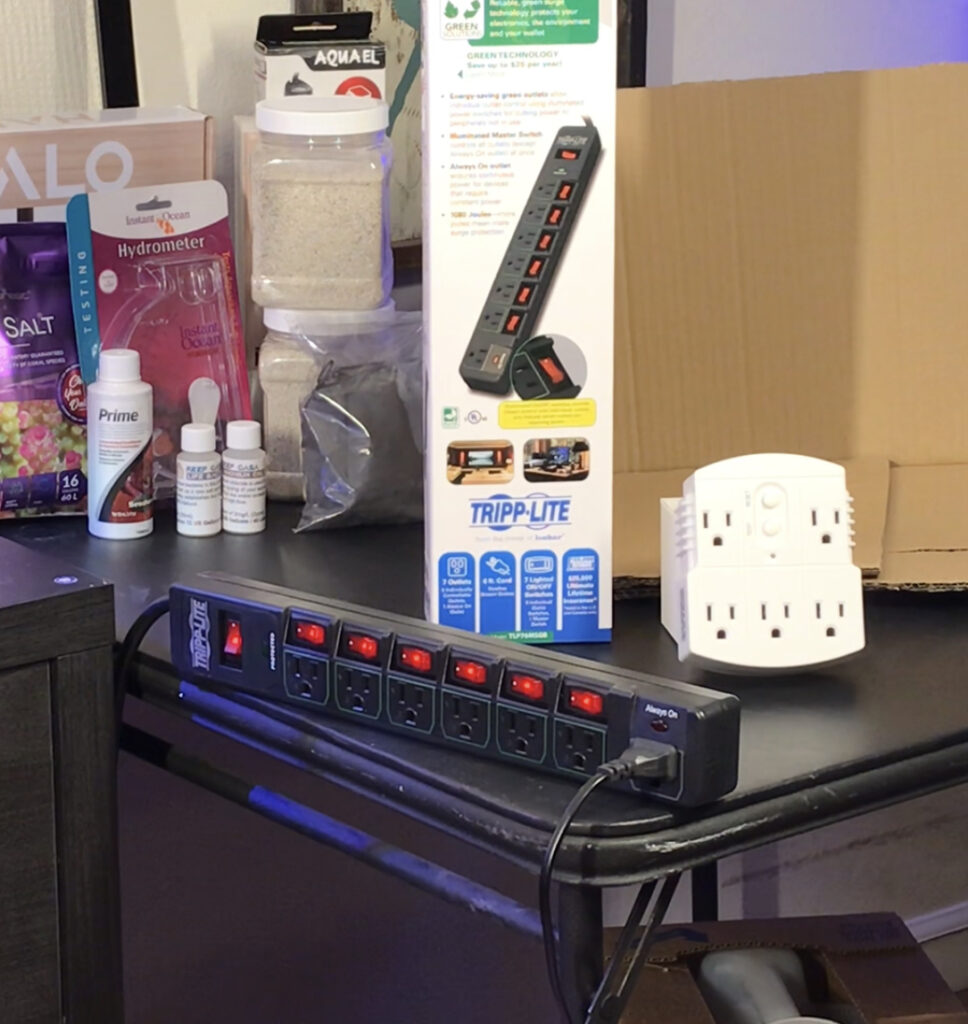
- Because you’ll have so much equipment to plug in, you’ll need a good powerstrip with a surge protector. I use this one by Tripp Lite, it has 6 outlets with individual on/off switches which makes it easy to turn specific equipment on and off for feeding and water changes, and then there’s one outlet that’s always on and I use that for my lights so I don’t accidentally cut off the power to my lights and lose my settings.
- When you place your powerstrip and you plug in your equipment, you want to remember that water and electricity don’t mix so you need to consider safety. A couple things to do:
- First you need to make sure you include drip loops, this means any power cords or wires that come out of your tank should dip down below the outlet and then loop back up… this is so that if water splashes out of the tank and onto the cord, it will run along the cord and drip off onto the floor rather than running into the outlet.
- Secondly, you may need to add GFCI protection to your outlets near your tank. GFCI stands for ground fault circuit interrupter. You usually see GFCI outlets in kitchens and bathrooms due to using electricity near water sources, they are the outlets that have a test and a reset button on them. So basically GFCIs protect people from electric shock in wet areas. When I first set up my tanks, I used these plug-in GFCI adapters, and then as time went on I had an electrician come upgrade our outlets to GFCI outlets.
- So remember GFCIs protect people from electric shock in wet areas. Whereas surge protectors guard appliances and electronics against sudden increases in voltage, i.e., voltage spikes. So you’ll need both things.
- To learn more about these and other safety considerations I highly recommend checking out the article Basic Aquarium Safety by BRS, and you should do your own research as well. I know some reefers mention concerns about GFCIs tripping and cutting power to the tank, so there are various factors to consider, but it’s clearly important to plan for safety during aquarium setup.
Aquascaping a Reef Tank
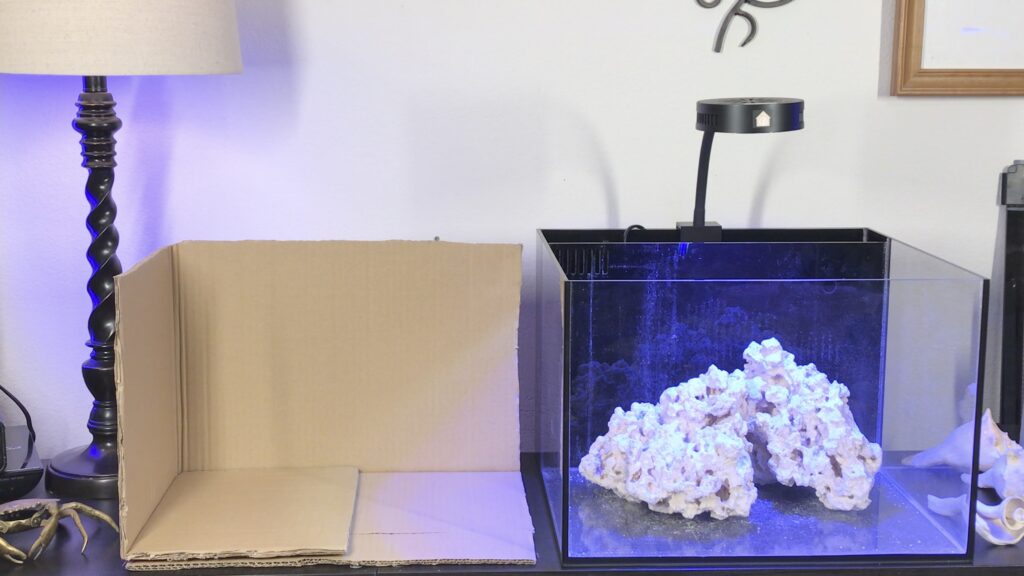
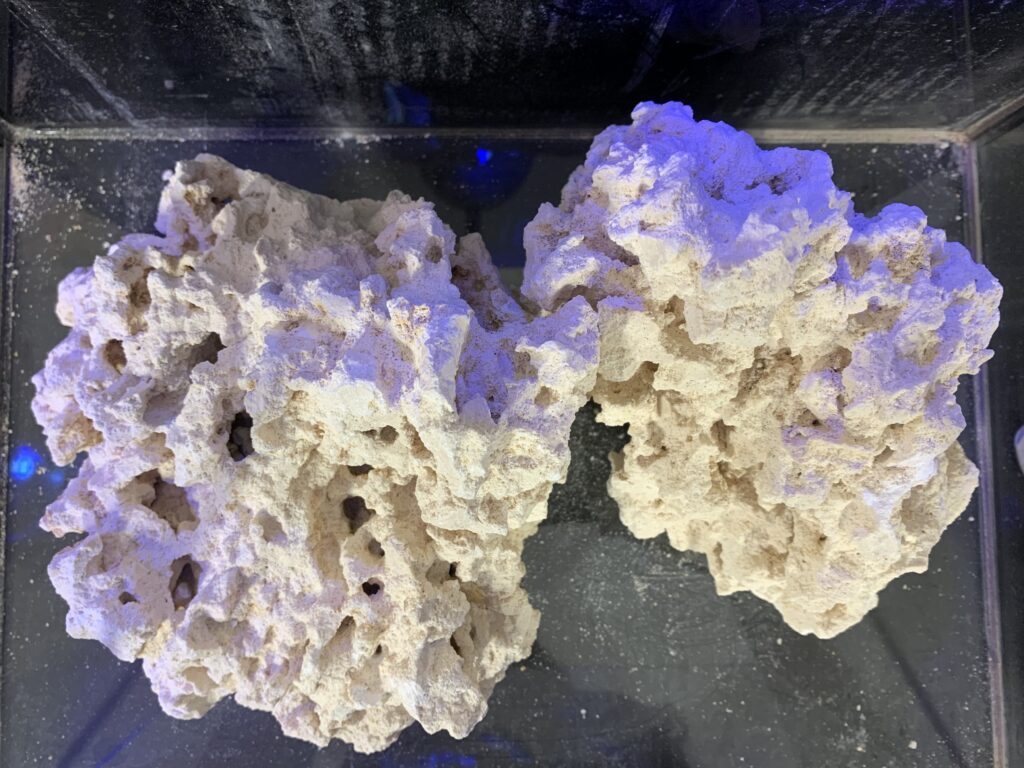
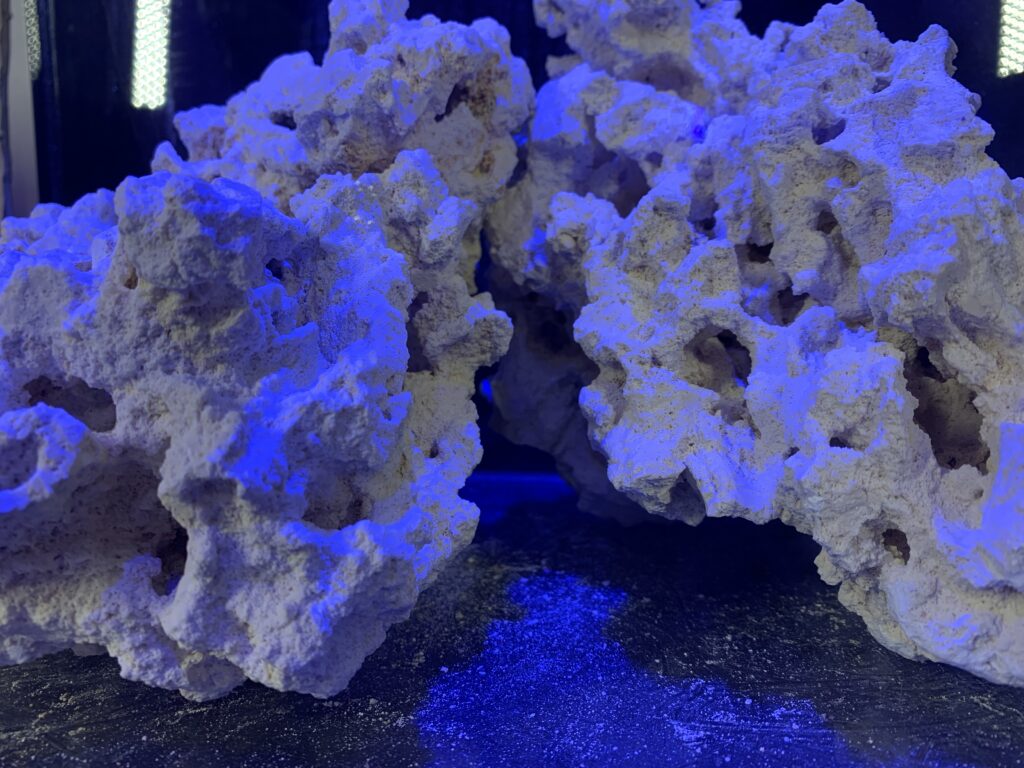
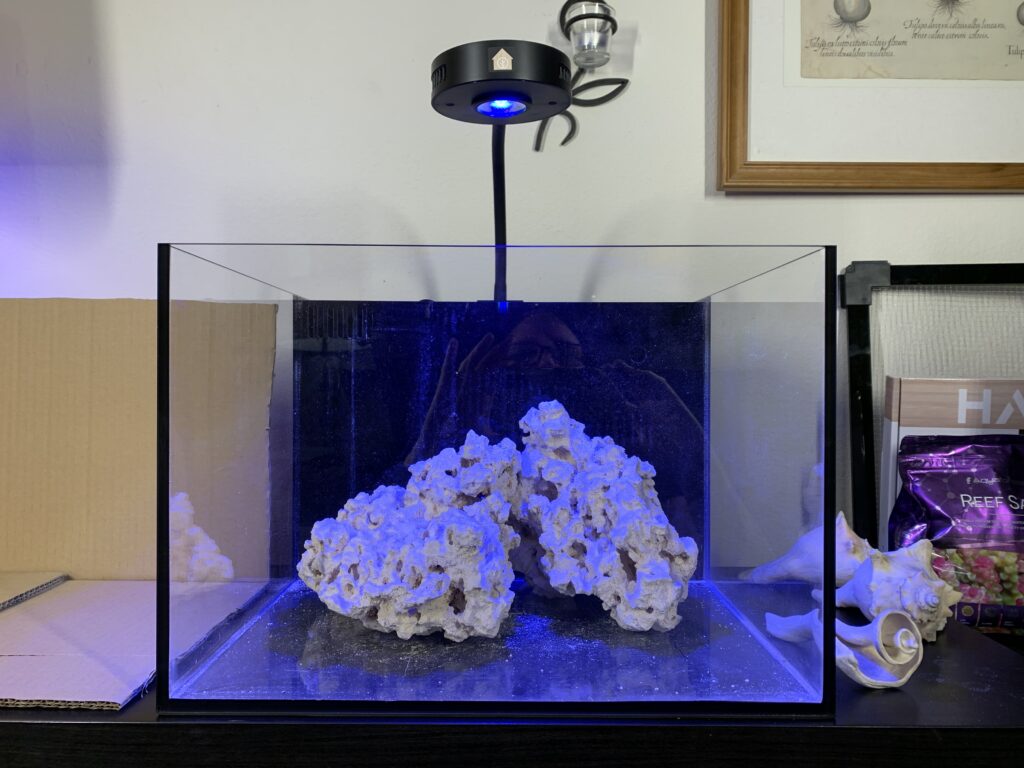
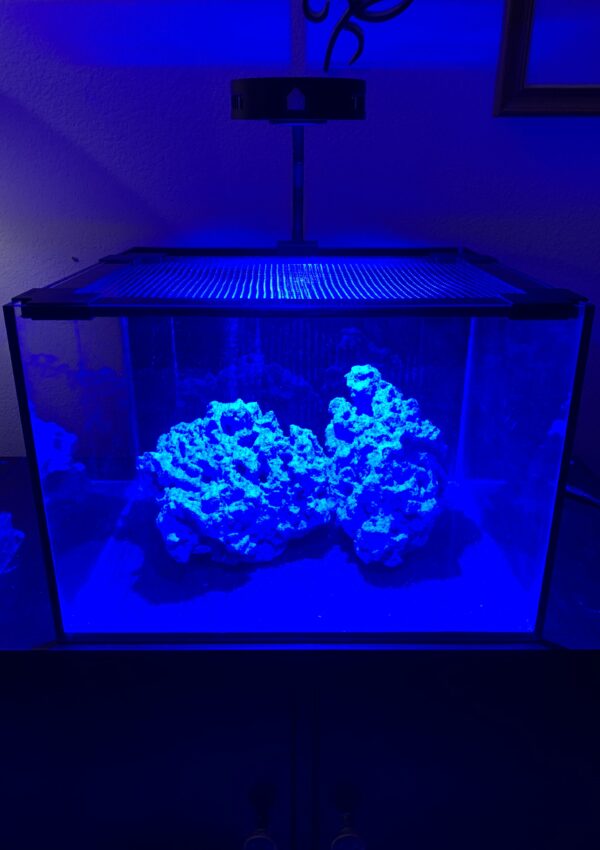
The Reef Casa saltwater starter kit includes 9-10 lbs of dry rock; in my case there were two really nice pieces. I played around with them and decided they would work for me as is to create my scape once I found a good way to arrange them. I really like a pretty basic, natural looking scape which can serve as a blank canvas for my corals, but some people might want to get more creative and use a hammer and chisel to break up and then glue the rock back together to create something unique… check out Tia’s scape in her Studio 12 on the Reef Casa website!
A few tips when creating your aquascape:
- you can cut the box the tank came in to the size of the display so you can try different configurations without worrying about dropping the rock or banging into the glass
- come up with a scape that is visually appealing to you
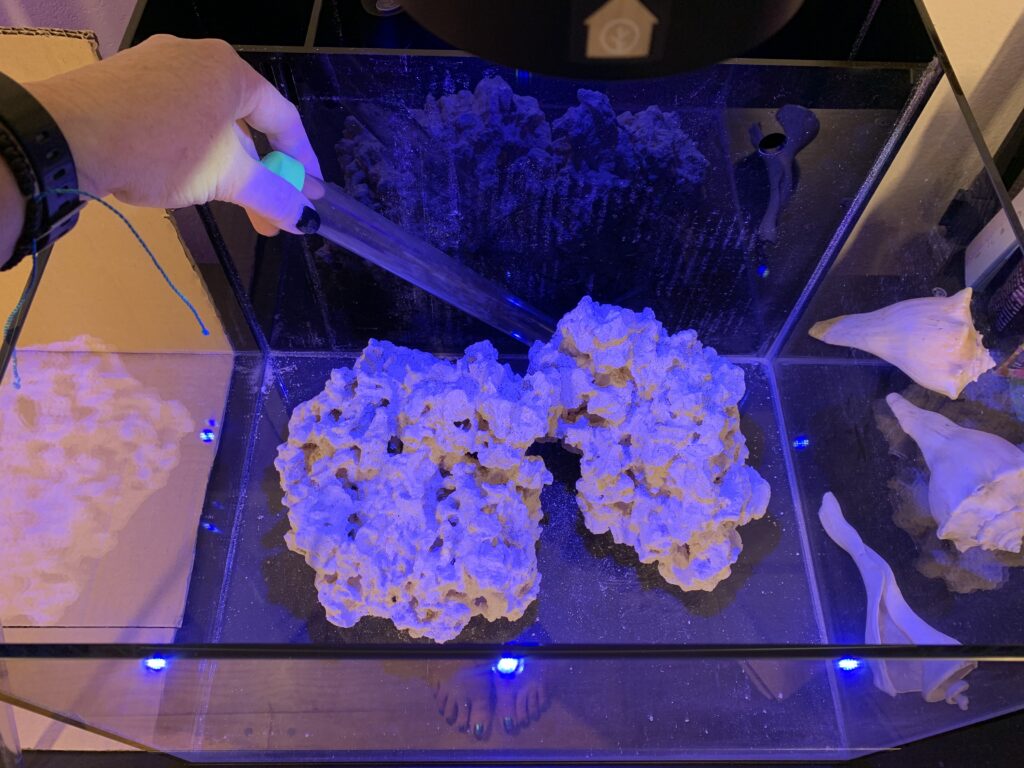
- leave space for water flow and cleaning the sandbed and glass
- it’s good to include places for fish to hide, but you want to design it so you can get them back out if needed – with my first tank, I had a cave and with the way I glued my scape inside the tank I couldn’t get it back out without destroying it, so once fish or other livestock went into the tank they usually couldn’t come back out
- consider how light will hit the rock and your future corals – remember most corals need light to grow – it’s best to look at the rock from the top down from the perspective of your light to check and make sure you have lots of good places to place corals and there aren’t too many steep or shaded areas
- looking down on your rock from above also allows you to imagine how your future reef will look in top down photos. I totally plan my tanks with regard to how they will look in photos in the future because I discovered that tank photography is one of my favorite things about keeping a reef tank. I will plan to do a post soon with some tips on how to photograph your tank with your smartphone or tablet
The Studio 12 Tank
Let’s look at some key features of the Studio 12 all-in-one tank:
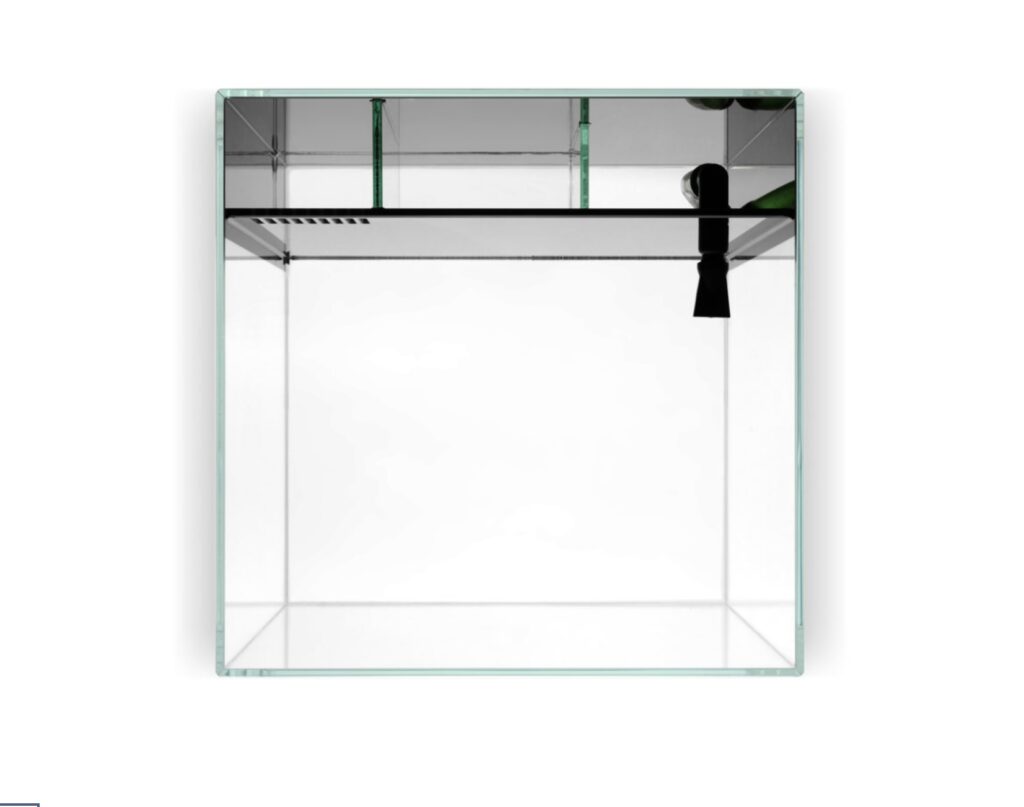
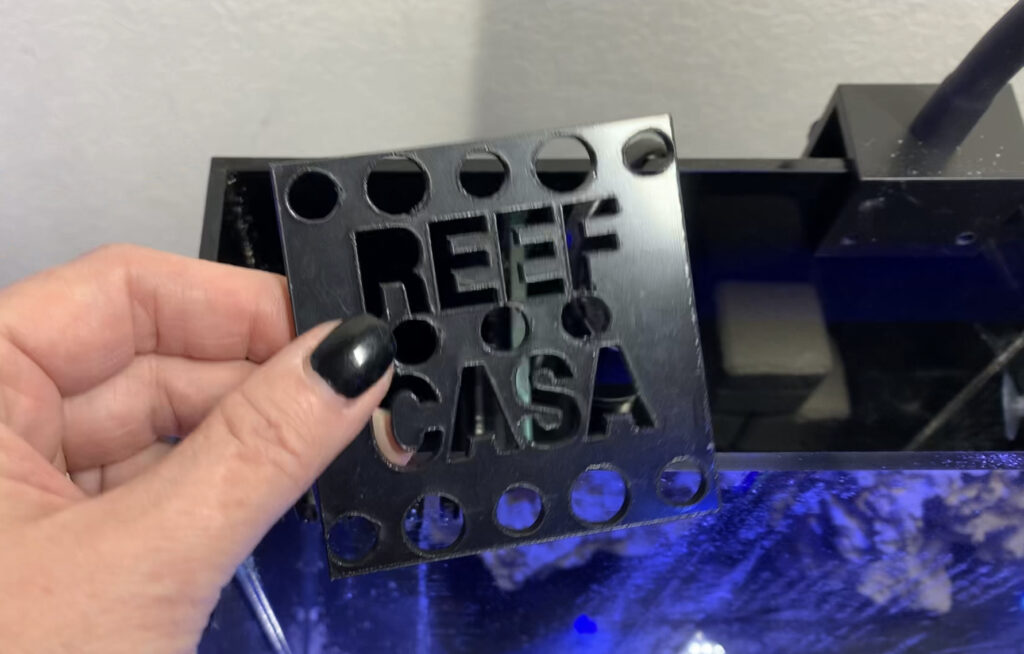
- It does have a built in leveling mat so I just made sure there was no sand between the tank and stand then positioned the tank where I wanted it on my stand
- Dimensions in Inches: Width 16” x Length 15” x Height 11”
- Volume: 12 Gallons / 45 Liters
- Glass Thickness: 5mm (3/16”), looks very clear and well made
- the back wall and baffles are also glass, which is nice as it seems like this will be easier to clean without scratching like you can with the plastic in other tanks I’ve used
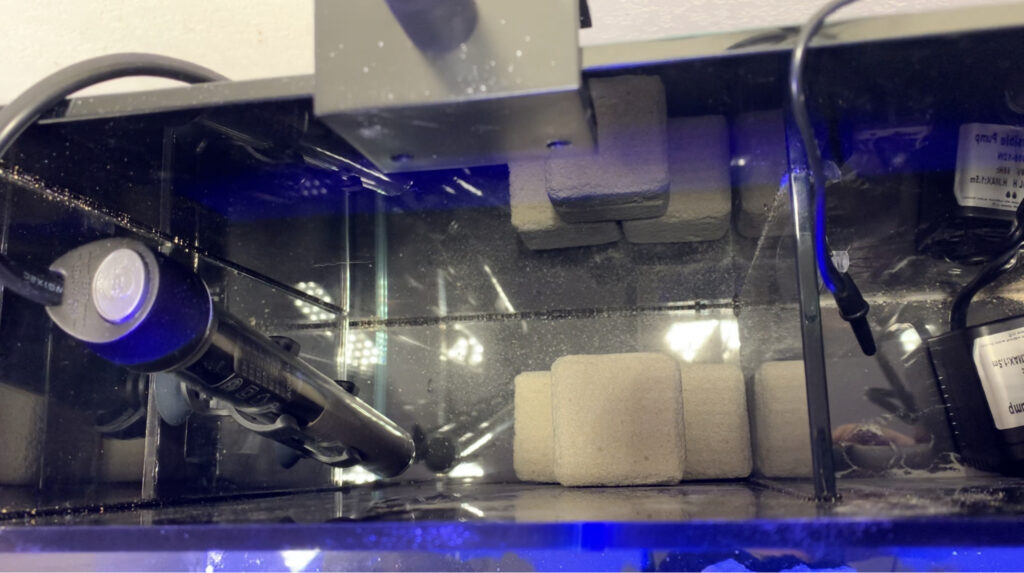
- 3 filtration chambers – it’s always good to take a look and get to know the ins and outs of a tank before adding water so you can see it better
- water flows into the filtration chambers on the left, passes through the filter floss on the floss holder, and then after that you will most likely add your filter media such as the activated carbon once your tank is ready for it
- water flows from the bottom of first chamber into the middle chamber where you will keep your heater and bacteria hotel bio blocks
- water will then flow over the baffle into the third chamber with the return pump, where it will be pumped into the display
- instructions say to fill the tank so water is 1 inch down from the baffle in the third chamber when the tank is running
- after checking out the chambers it’s a good time to add the pump, heater, and thermometer… be sure to create drip loops, but hold off plugging anything in until the tank is actually filled up… you can also add the bacteria hotel bio blocks to the middle chamber at this time.
Sand
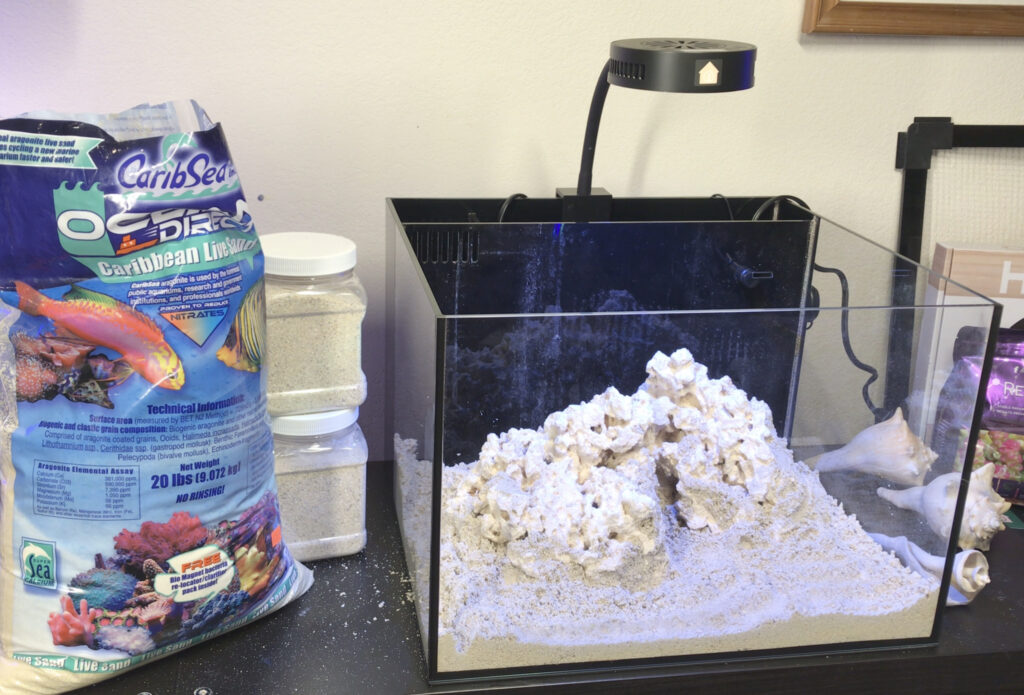
- the saltwater setup kit does include 6 lbs of dry sand, specially measured to give you a one inch sand bed, typically you would rinse dry sand, but the manual seems to say this sand does not need to be rinsed, you may want to double check that when using the Reef Casa sand
- in my case, I have tried several types of sand and I’ve found that CaribSea Ocean Direct live sand worked best for me. I had already picked some up before I knew the tank setup would include sand, and then I just saw some info from BRS indicating that their test tank which used Ocean Direct really outperformed many of their other sands/methods, so after much consideration I decided to stick with my original plan to use the Ocean Direct
- remember dry sand may need to be rinsed first, but anytime you use live sand you don’t rinse it because you don’t want to wash off the beneficial bacteria in the sand
- you may notice that the Ocean Direct sand is not as wet as other live sands, it’s just slightly moist and that’s normal

Saltwater for the First Fill
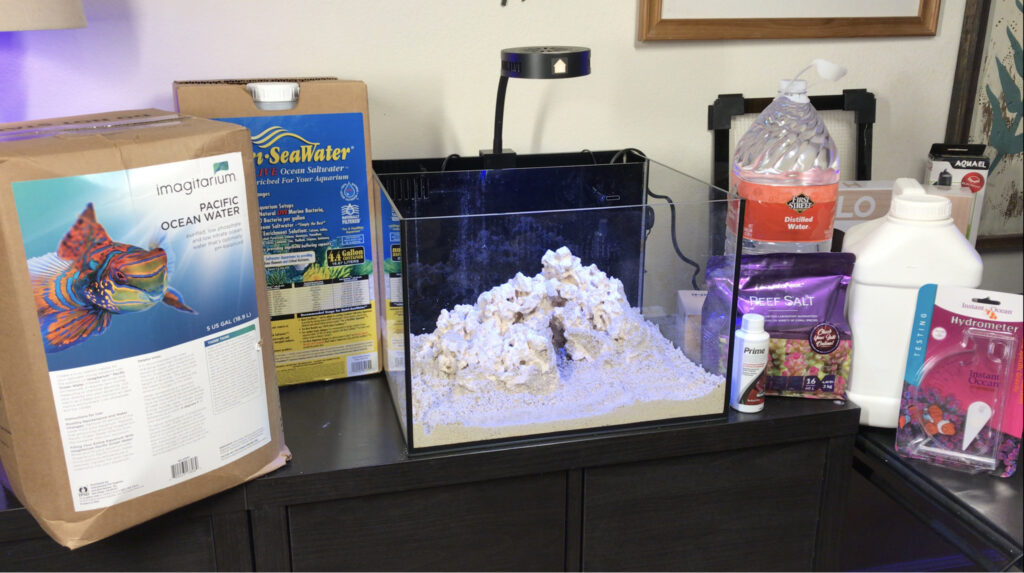
The saltwater setup kit included a bag of Aquaforest Reef Salt, which I’ve never used before… I researched it a bit and it looks great… the parameters are in the ranges I like for my tanks and it’s cool because you can look up the ICP Test results for your batch… check out my batch! So I do plan to use it and actually may switch all of my tanks over to it, but not yet!
That’s because any time I start a new tank, I do not mix my own water for it! For me, it was too much to learn how to mix the water correctly along with everything else I was trying to learn in the beginning. Plus I didn’t have the buckets, extra pump for mixing, or RODI filter, or even know how to accurately use a refractometer yet. In addition, you need a lot more water for the first fill so you would need a bigger bucket which I didn’t want to buy if it was just for the one time use.
Saltwater options I’ve used instead of mixing my own:
- premixed saltwater made by my LFS
- NutriSeawater which is ocean water that has beneficial bacteria added to it
- Imagitarium Pacific Ocean Water from Petco… it does not have the added beneficial bacteria
With this tank, for my first fill I’ll be using the dry rock, the Ocean Direct live sand, the Imagitarium water, and the Reef Casa beneficial bacteria & ammonium chloride.
Beneficial Bacteria
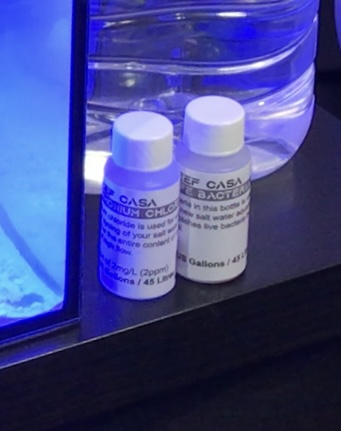
The Reef Casa saltwater setup kit includes a bottle of their beneficial bacteria and a second bottle with ammonium chloride. These are used to kickstart the cycling process in a new tank started with dry rock if you want to do a fishless cycle. Per the directions from Reef Casa, after adding their beneficial bacteria and ammonium chloride to the tank, I will be testing ammonia, nitrite, and nitrate every few days to monitor the progress of the cycle. I will talk more about the nitrogen cycle in a future post.
While first cycling your tank with a beneficial bacteria product, don’t use filter floss or other filer media. You also want to avoid using a skimmer or UV light. You want to give your beneficial bacteria time to settle onto surfaces and populate the rock and additional surfaces you’ve provided such as the bacteria hotel blocks from Reef Casa.
The Reefing Gadgets
I love my gadgets! These obviously were not a part of the tank and saltwater setup kit, but they are two of my favorite things I own: a Milwaukee digital refractometer for testing my salinity, and an API Aquaspin for testing my other parameters… I’m very happy with both. Let me know if you’d like to hear more about them and I can plan to do a post, but if you check out my YouTube video below, you can see them in action and you can also see the parameters for the Imagitarium saltwater,
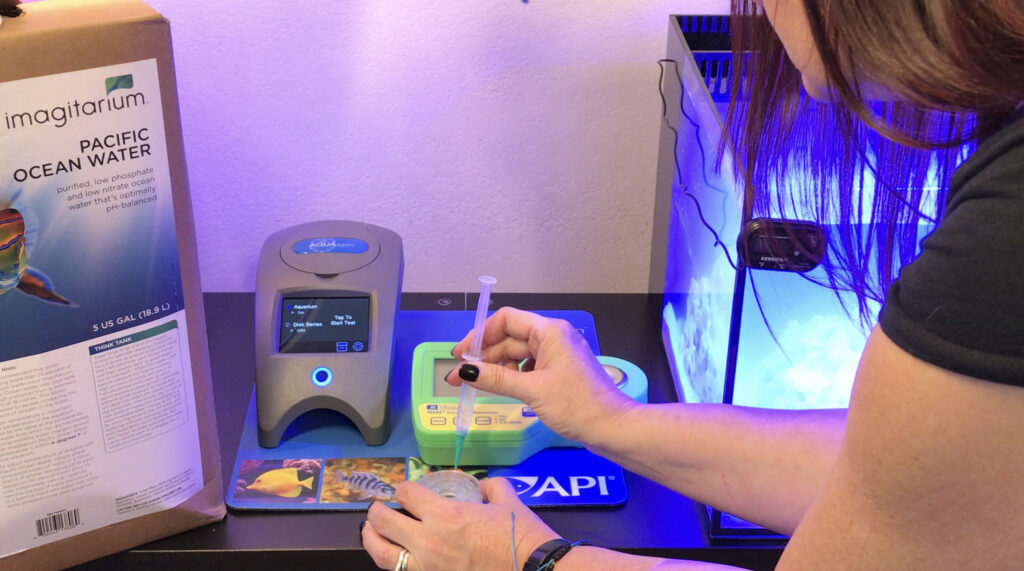
One of the nice things about keeping nano tanks is that they can be a lot less expensive than larger setups, so I can more easily rationalize some occasional splurges.
Final Tips & Next Steps
When planning for saltwater for your tank setup you should also be sure to get some freshwater for topping off the tank as water evaporates, I will talk more about this in a future post, but for now if you are setting up a new tank be sure to get some extra RODI water or a jug of distilled water so you have it on hand when you need it.
It can be a good idea to keep the tank lights off until you’re done with cycling, as the light can lead to algae growth and you don’t have a cleanup crew yet to help control it.
Once you’ve filled the tank, check to be sure it’s level. You’ll want to check front-to-back and side-to-side. If it’s not level, you can use shims under your stand to level it. I really like this video from My First Fish Tank that shows how to level a tank with shims, if needed.
Finally, if you have a lid you can go ahead and start using it right away… it can be helpful for keeping fur and pets out of the tank.
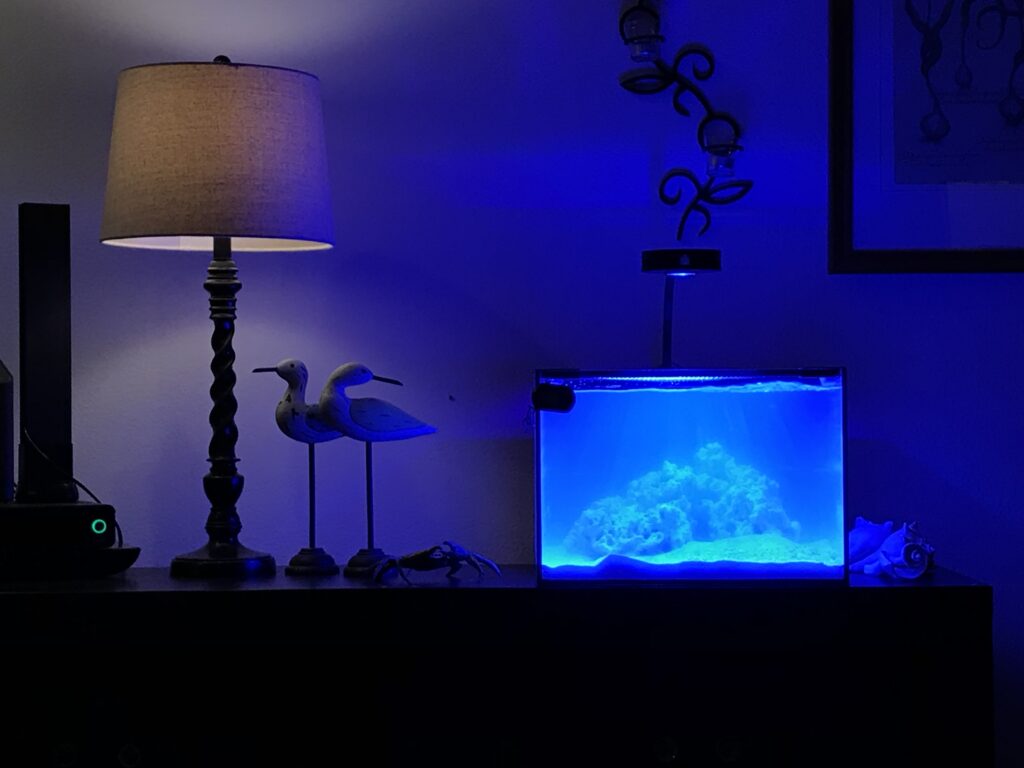
Please check back in for my future posts about the nitrogen cycle, establishing initial stability during a tank’s first few weeks, installing an auto topoff, planning for fish/corals/cleanup crew, and figuring out how to program the light.



[…] you have a drip loop. If you don’t know about drip loops or GFCI protection, you can check out my previous post that talks about electrical considerations when keeping an […]