Hey there reefers, and future reefers! I’m banasophia, welcome back to my blog. We have been talking about my brand new Studio 12 twelve gallon all-in-one aquarium and saltwater setup kit from Reef Casa. Today we will be talking about the essential things you need to do in the first few weeks of setting up a new reef tank, and how to set up the XP Aqua Duetto ATO.
So, I got the tank wet two weeks ago, added the Reef Casa beneficial bacteria and ammonium chloride to do a fishless cycle on the tank, and I’ve been testing for ammonia, nitrite, and nitrate levels, monitoring the progress with the cycle.
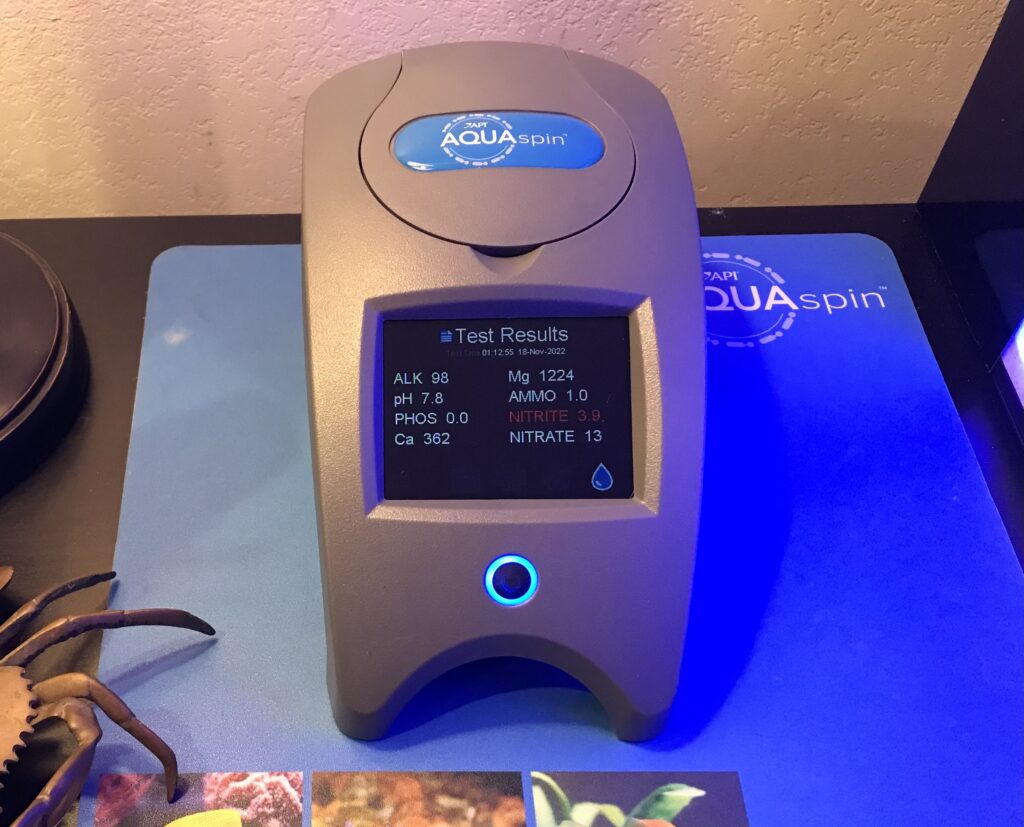
I will talk more about the nitrogen cycle in a future post, but the important thing to know about it for now is that we are not quite there yet, as of last night I still had both ammonia and nitrite present (see pic), so we are still cycling and no livestock can be added!
Remember – you can never add fish when you have added ammonia for a fishless cycle until the cycle is complete and ammonia and nitrite have gone down to zero!! March at Reef Casa had indicated that their beneficial bacteria can usually cycle a tank in 2-3 weeks, so we’ll see how long it takes! I was hoping for two weeks, but to be honest there are lots of things to research and decide on here in the beginning, so there’s plenty to keep me busy!
Essential Tasks in the Beginning
There are three important tasks when you first set up a tank:
- Cycle the Tank
- make sure it is populated with the types of beneficial bacteria that are needed to break down things such as fish food and fish waste
- beneficial bacteria convert ammonia -> nitrite -> nitrate
- Confirm all your equipment is functioning
- Tank – no leaks / cracks
- GFCI protection / powerstrip setup for all of your components
- Pump – working, water is flowing at a good rate, not too noisy
- Powerhead – working if you have one – don’t need it yet, can add later if needed
- Heater
- Thermometer
- Light
- Be sure you can maintain a stable environment before adding any livestock, consider:
- Temperature
- Water Level
- Salinity
Maintaining Stability in a New Tank
TEMPERATURE
As far as temperature, this tank is easy! I typically keep my tanks in the 76-80 degree F range. The heater and thermometer that came in the saltwater setup kit from Reef Casa are working well for this setup and the temperature is staying stable right around 78 F which I set the heater to.
Important note, do not put your heater in your return chamber, as this is the chamber that could have a drop in water level with evaporation and you always want the heater to remain submerged.
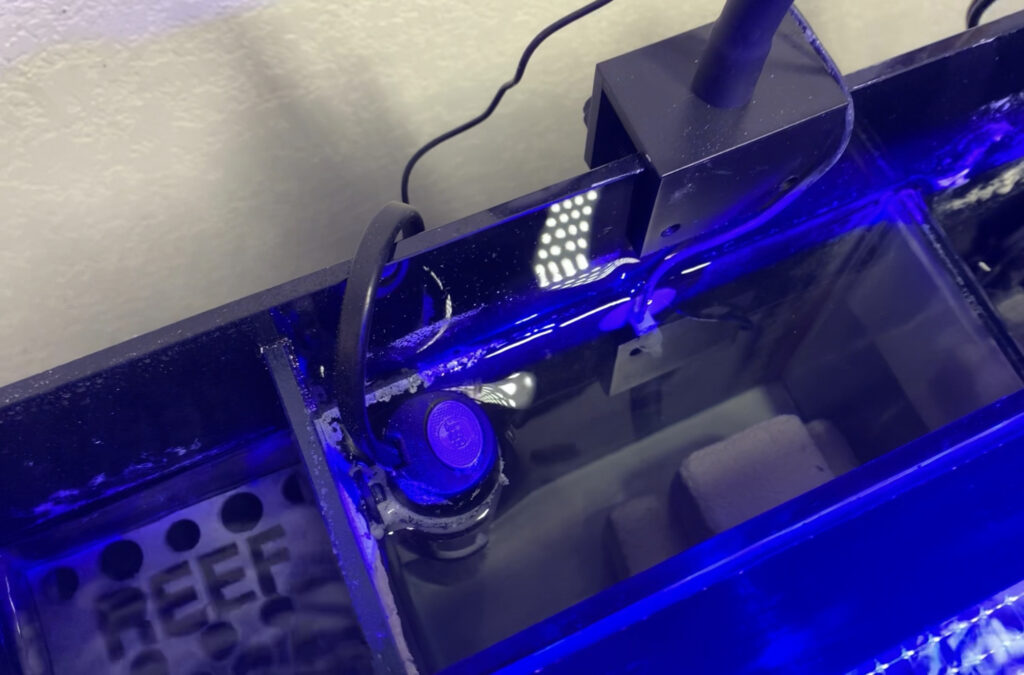
Another important note here is that temperature control is easy with this Studio 12 tank which is an open top tank that just has a mesh lid, but you may need to take additional steps to keep the temperature stable if you are using a tank with a solid lid, such as a Biocube… I will plan to talk about that in a future post, but let’s keep it simple and focus on this type of tank for now. We are good with temperature control here!
WATER LEVEL & SALINITY
You may have heard people say we aren’t really keeping fish and corals in this hobby, we are keeping water. Needless to say, being able to maintain the water level in our tanks is key. During the first week or two with a new tank setup, you want to see what happens with the water level over time.
First, you want to watch for any leaks. If there was a leak in a brand new tank, I would probably follow up with the manufacturer or the place I bought the tank… in an older tank that develops a leak, you may need to fix or replace your tank.
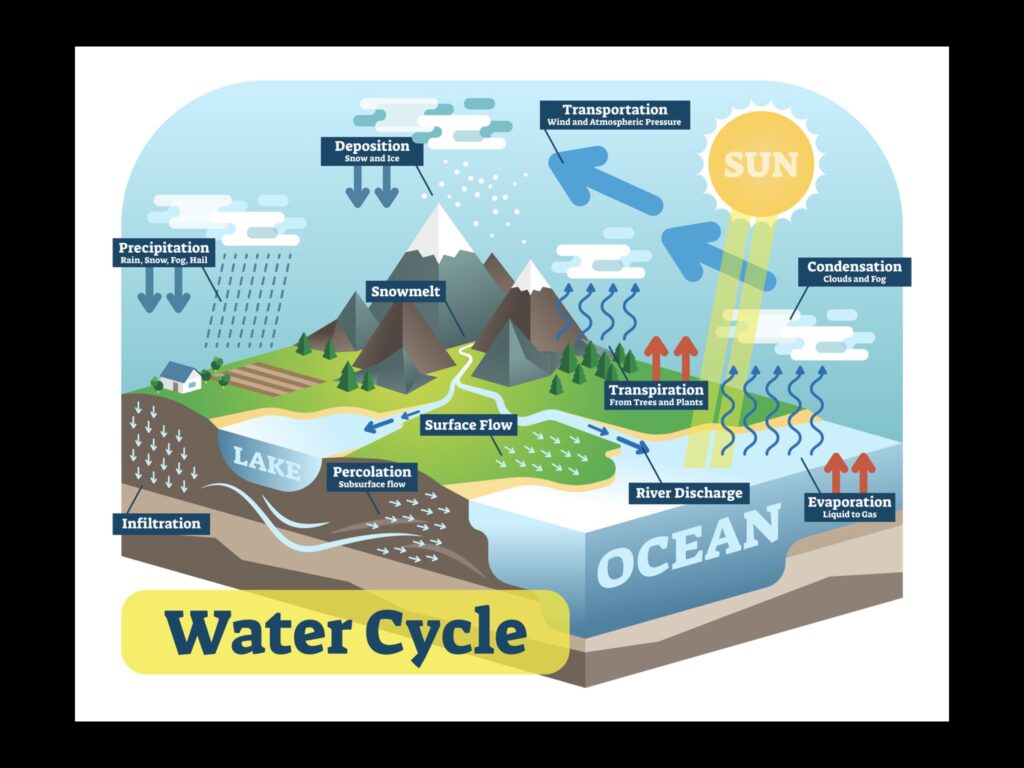
In most cases though, if the water level is dropping, the issue isn’t a leak, it’s evaporation! I need to get a little nerdy for a second here because I love science, and I love that there’s so much science involved in reefing. Remember learning about the hydrologic cycle – or the water cycle – in science? Well, just like evaporation that happens with the ocean, there’s also evaporation from our reef tanks… but in a tank with no lid, the water vapor obviously can’t condense and drip back down, no tiny rain clouds will form over our tanks, so the water escapes in the form of vapor, the water level drops in the tank, and this water needs to be replaced… we need to be like a river, replenishing the water in our tiny ocean.
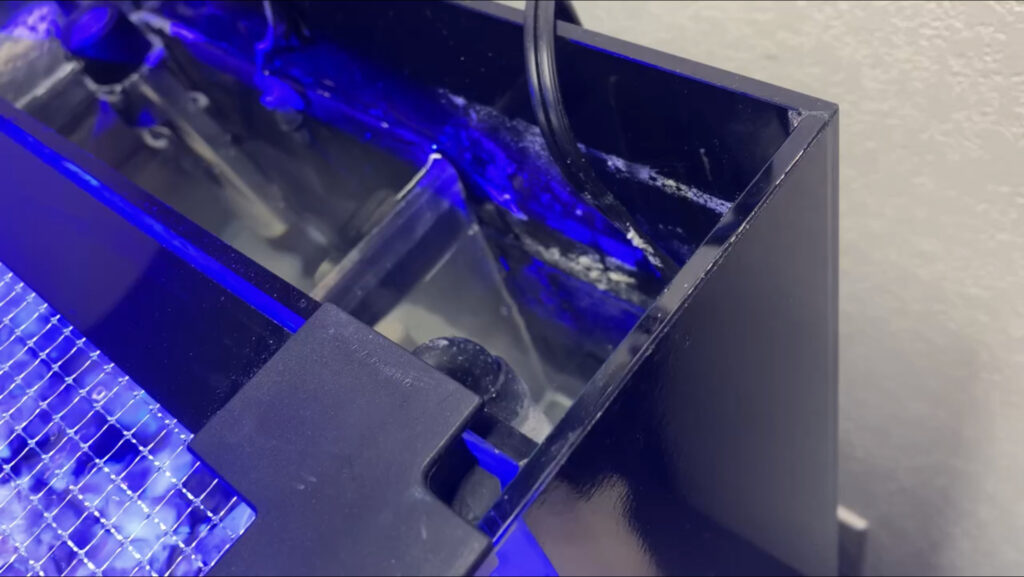
When you first fill your tank, you’ll want to remember or mark how much you fill it, then keep an eye on the water level. With this Studio 12 tank, we want to run it so the water level is about one inch below the baffle in the third chamber.
Observe how much the water level drops from evaporation each day. But what’s a big thing to remember here? When water evaporates from the ocean – or our tanks – what happens to the salt and minerals and other stuff dissolved in the saltwater??? It stays behind! Think about salt evaporation ponds where they collect salt left behind (see photo).

In our tanks, as the water evaporates, the salt gets left behind, and then what does that do to the salinity level in the tank? It increases it!! This is a VERY IMPORTANT CONCEPT in reefing!
We have to replace the evaporated water to maintain the water level and maintain a stable salinity level. And since only the water itself evaporates, we need to replace it with pure fresh water, NOT SALTWATER! If you added saltwater back in each time, the water alone would continue to evaporate leaving a little extra salt behind in the tank each time, and the salinity would be building up higher and higher over time. You can’t have this in a reef tank… the salinity, or concentration of salt in the saltwater, has to stay stable within a certain range to support our livestock.
This also explains why you want to make sure you are using pure water, H2O, when you top off your tank. The pure water can be RODI water (which you can filter yourself if you have your own RODI filter, or you can buy from your local fish store or LFS) or you can use distilled water which you can usually get from a grocery store or drugstore. Make sure when you buy distilled water it’s not that baby distilled water that has minerals added back in. I actually have Arrowhead distilled water delivered to my house in 5 gallon reusable jugs once a month, which I really like because they take back and reuse the jugs so it reduces plastic waste.
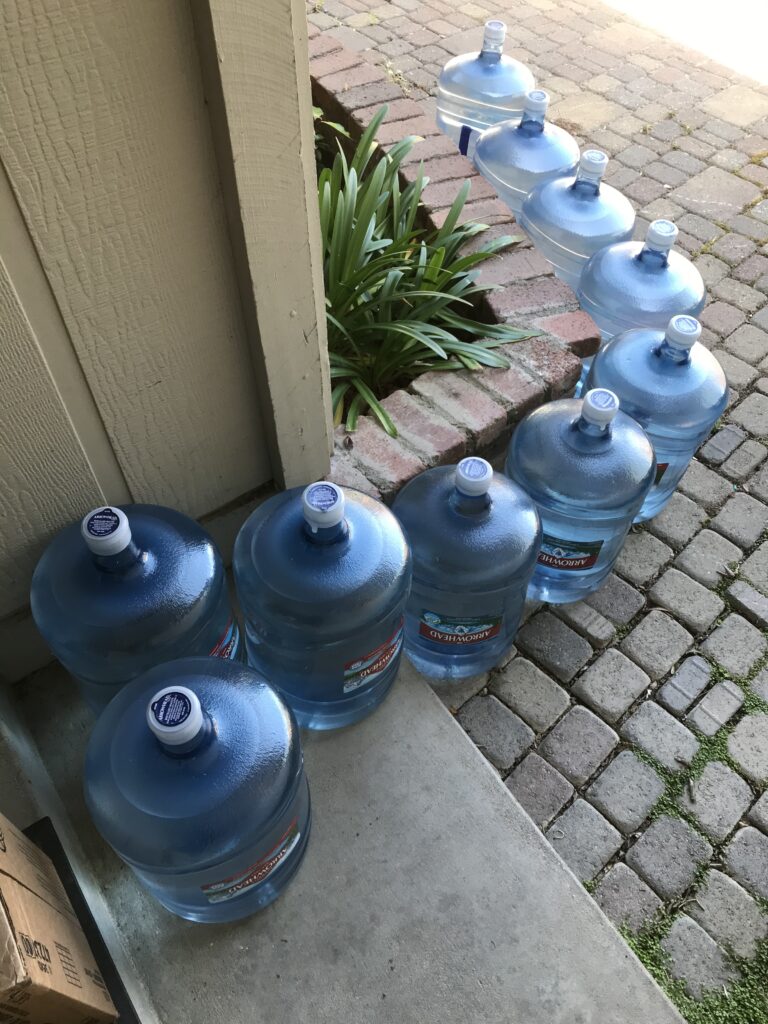
So as I mentioned, there are two types of water you can use – RODI or distilled. You typically do not want to use tap water for topping off because tap water is likely to have impurities that would also be left behind in the tank during the evaporation process and would build up over time. For example, take a look at a sample of my tap water versus distilled water (below).
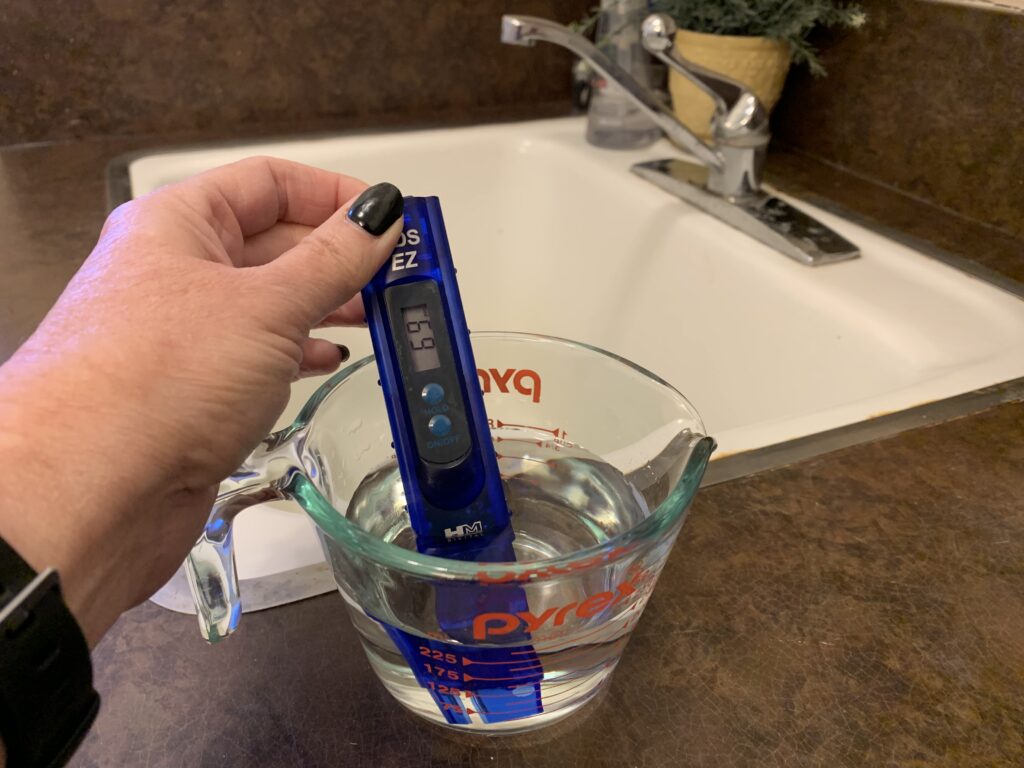
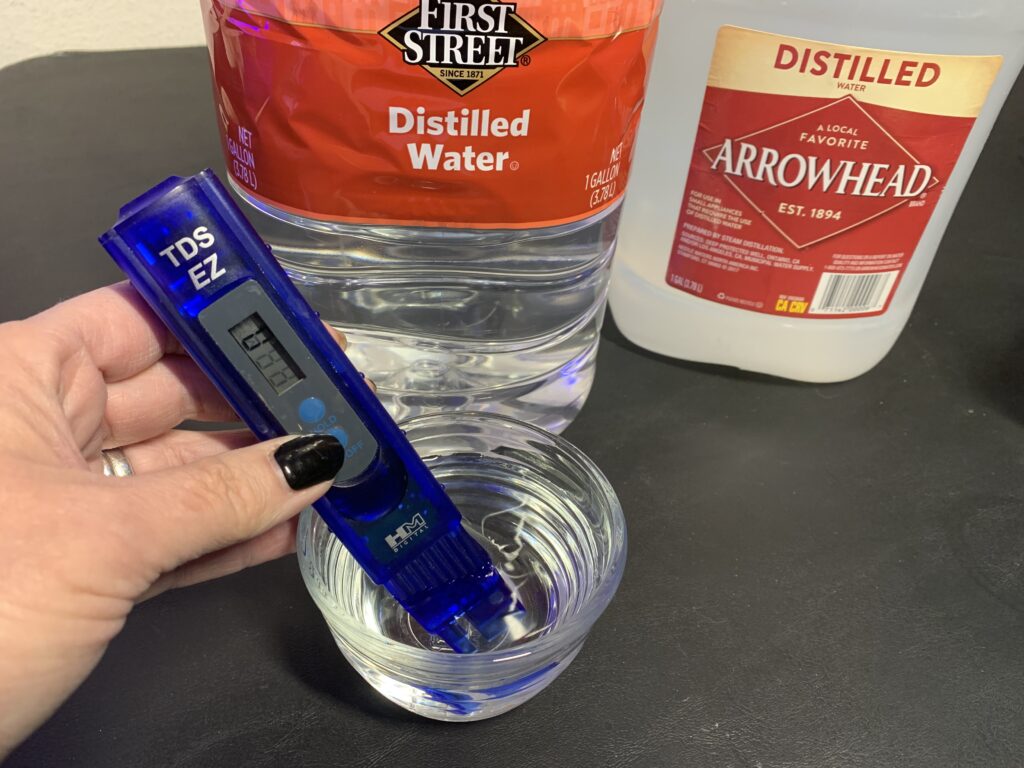
We can use a TDS meter to see the amount of total dissolved solids in a sample of water… we don’t know what those solids actually are and they may not hurt anything at first because it will probably be a very small amount, but over time as more water evaporates and more of those impurities get left behind and build up, they could have a negative effect on livestock in the tank.
The rate of evaporation in a particular tank depends on a number of different factors including: surface area, water flow rate, water temperature, room temperature and humidity in your house, air flow around the tank, heat from your light. Check out this cool graphic from BRS, which shows evaporation from a tank and setup of an auto top off (click the diagram to see their article).
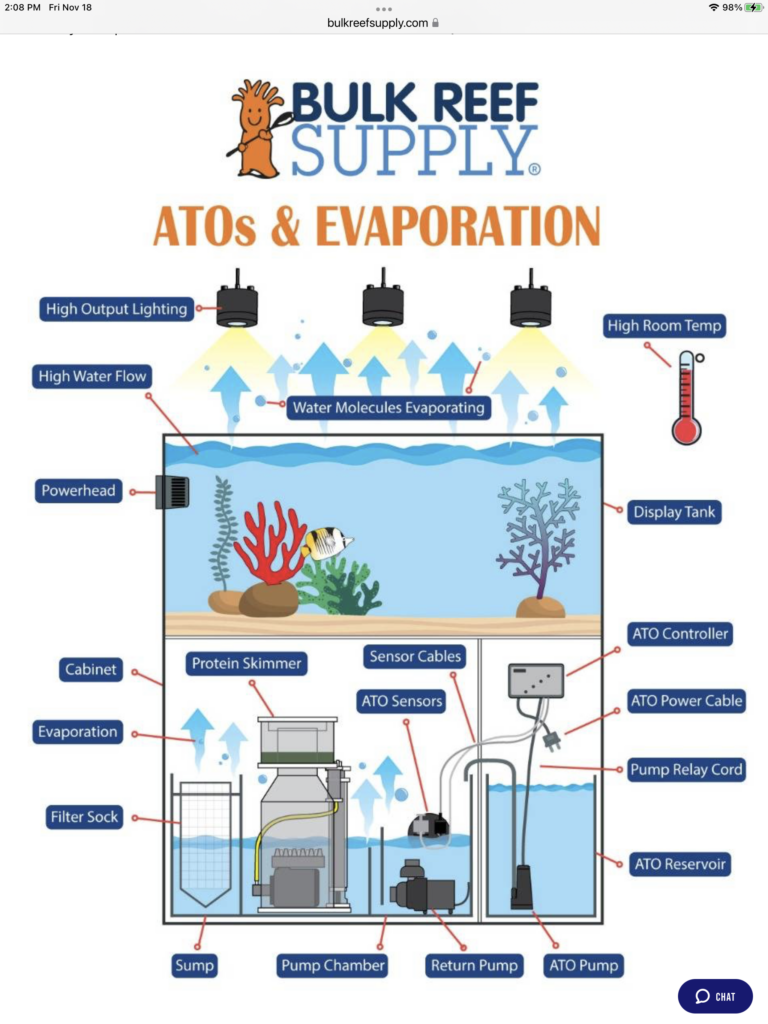
click the diagram to check it out!
Options for Topping Off a Tank
If your tank does get significant evaporation, there are two main options for dealing with it:
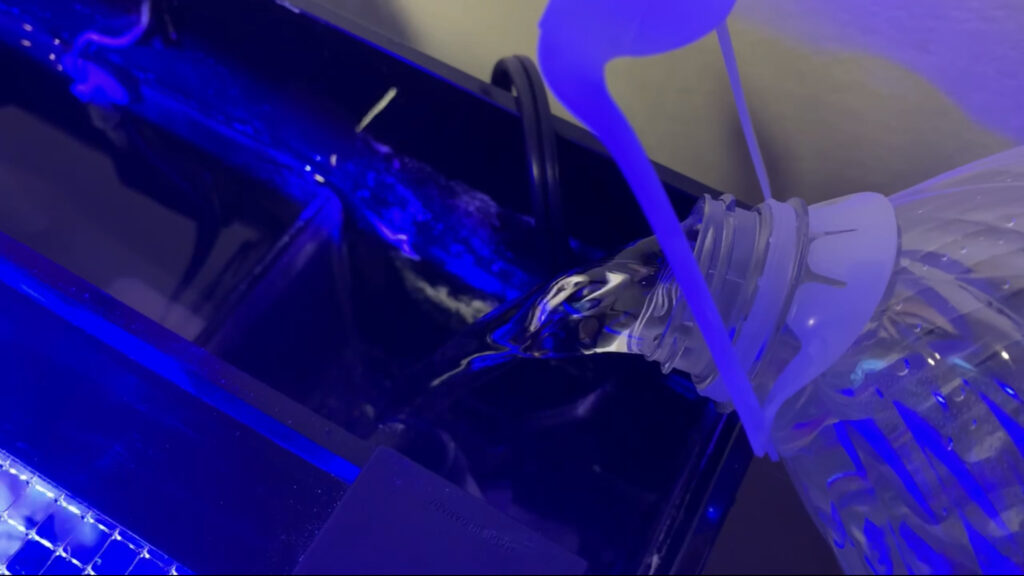
Manual Top Off – make note of the tank’s desired water level, check it periodically, and manually add the distilled or RODI top off water as needed. That’s what I’ve been doing so far with the Studio 12 tank, checking and adding water once or twice a day.
With this Studio 12 tank, I’ve been replacing about 1-2 cups of water each day. Every setup is different though. My Biocubes don’t get any significant evaporation due to their lids, for example, so they typically do not need any topping off between water changes. This is why you really need to watch your new tank during the first couple weeks after setting it up, to see how the water level changes and figure out what measures you need to take to maintain the water level and salinity.
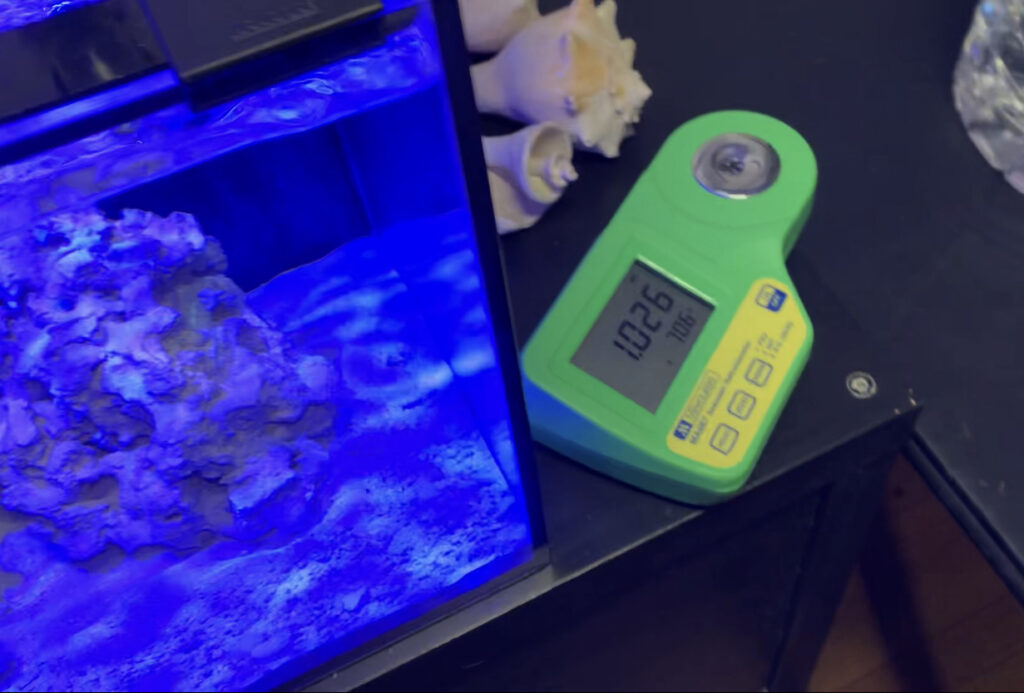
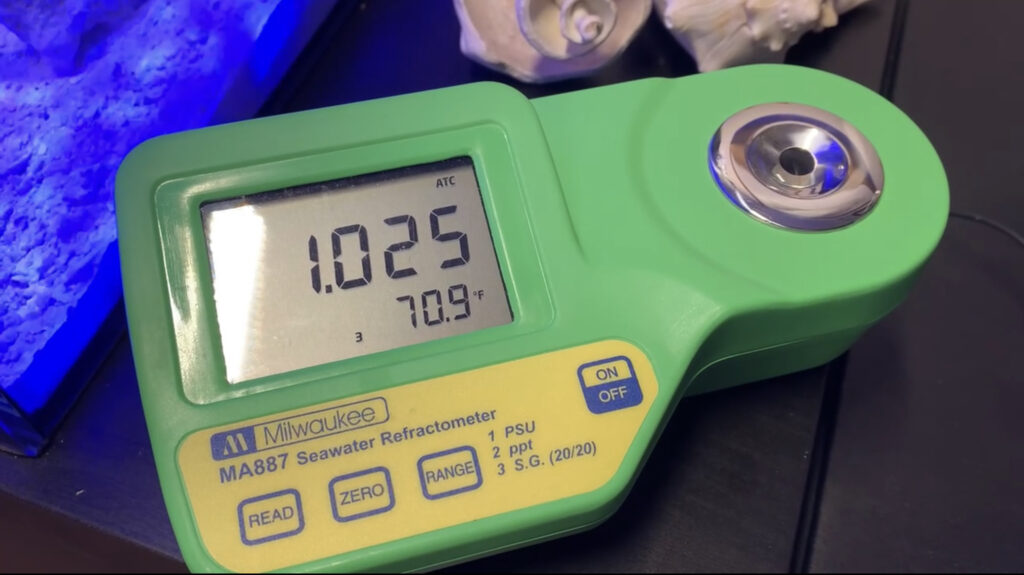
If I were to forget to check / top off just for a day with this Studio 12 tank, the return chamber and pump would likely run dry which is not good! Plus, look at what happens to the salinity in the tank from just half a day of evaporation: it fluctuates from 1.025 to 1.026, we really want to keep things more stable than that.
Automatic Top Off, or ATO – there are different types of ATOs available, including some that work by gravity and some that are electronic. I think most people use electronic ATOs these days and that’s what I’ve always used. Electronic ATOs use sensors to monitor the water level and will add the top-off water as needed throughout the day.
In my opinion, an ATO is one of the most important pieces of equipment for a nano tank to keep things stable (if you have a tank with significant evaporation) so I recommend investing in one and setting it up early on to help with success of the tank. Just be aware that there can be some risks and pitfalls, so you will want to be sure you set it up properly and monitor its performance.
Setting Up an Auto Topoff (ATO)
I have used the Auto Aqua Smart Micro ATO on two nano tanks and it has worked great for me. It was not available through Amazon this time around (at least not the one with the audible alerts) so I decided to go with the XP Aqua Duetto instead. I ordered mine through Amazon, but Reef Casa has them available as well.
Let me show you how I set up my Duetto ATO for this tank.

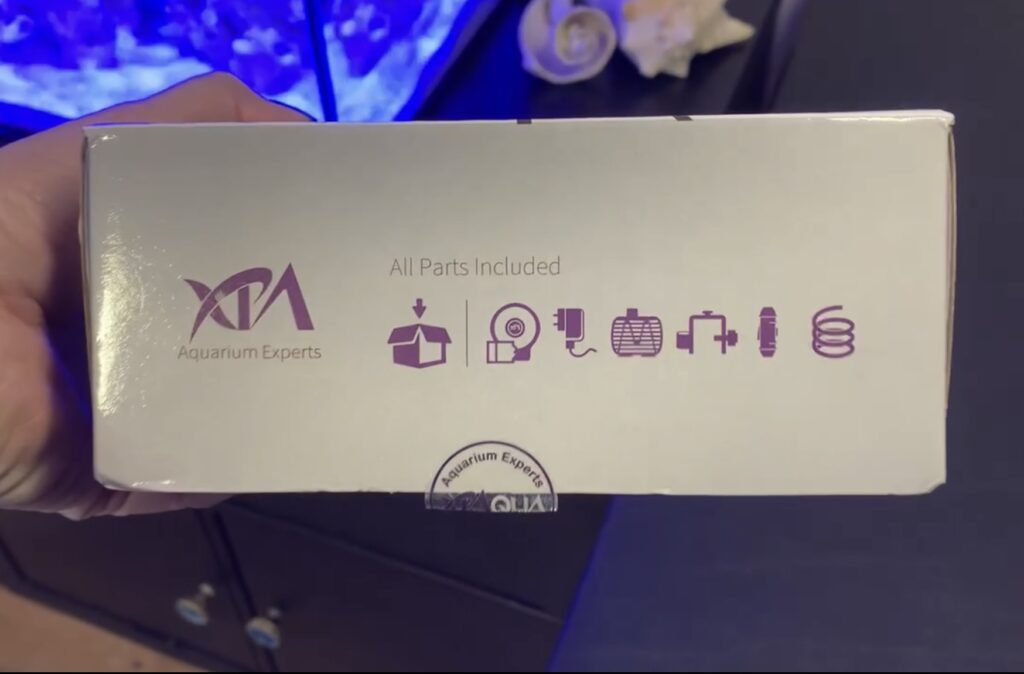

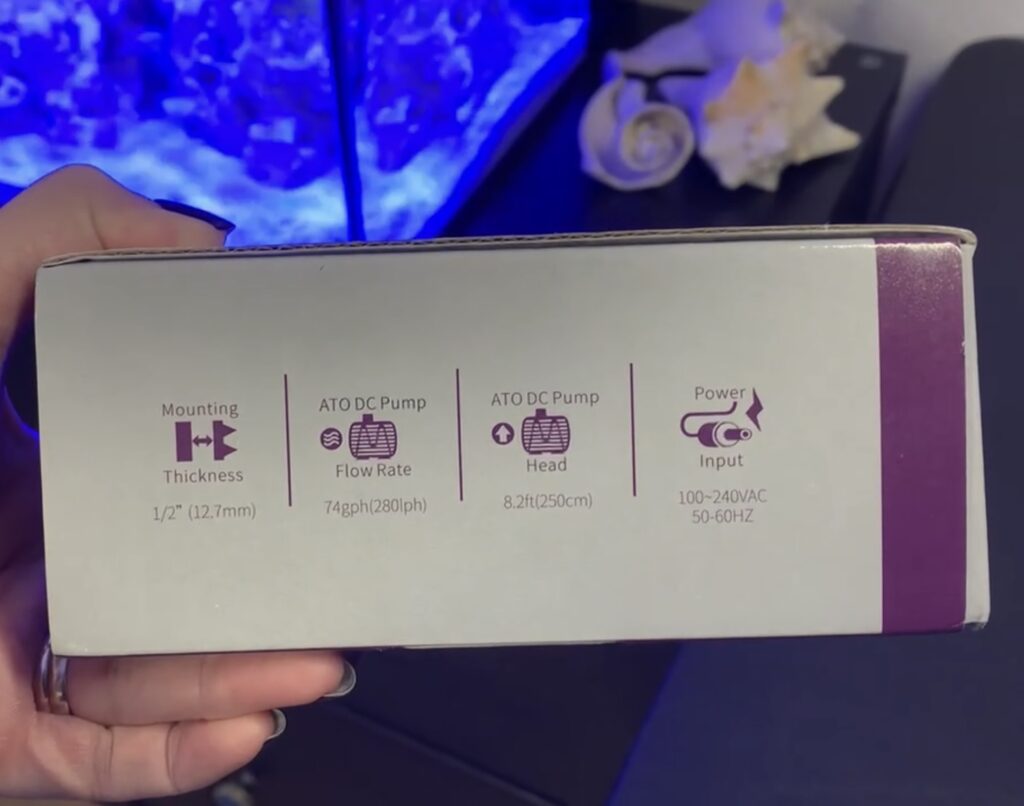

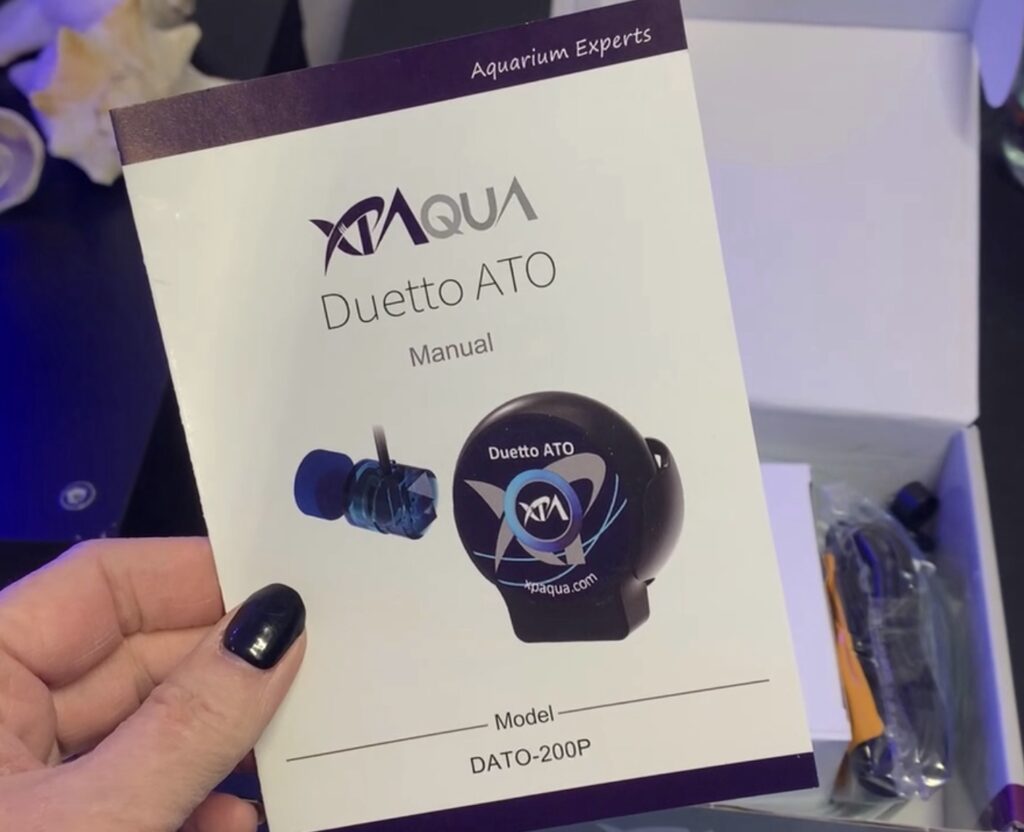
Overview of the Duetto ATO:
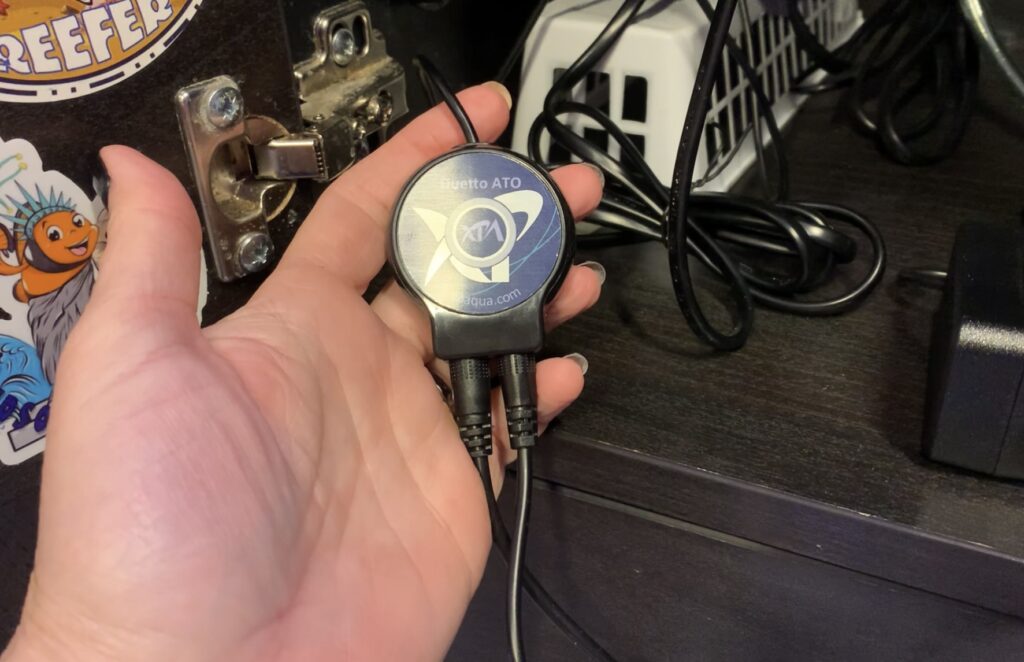
- You can see all the parts that are included, which are the controller, plug, pump, hose mounting device, siphon break, and tubing
- As it mentions on the box, it actually has dual optical sensors for increased safety, that’s why it’s called the Duetto, and they say this is the worlds smallest dual sensor ATO
- Other important features include that the mounting thickness is 1/2 inch, and the head or lift for the pump is 8.2 feet
- There’s a great diagram on the back of the box that shows the installation
- Be sure to read the instructions, they are written very clearly for this device… there’s the diagram showing the setup, and they include safety measures you should not skip over
There are some risks with using an ATO: an ATO can malfunction or be set up wrong and either overfill or drain your tank, sometimes by siphoning into or out of your tank, so choosing a good one and setting it up correctly is very important!
Because of that, don’t just go by what I say, read the directions that come with it, do your research, and check out other sources of info! I am not an expert, I’m a hobbyist and I’m just sharing information that I think will be helpful, especially to new reefers.
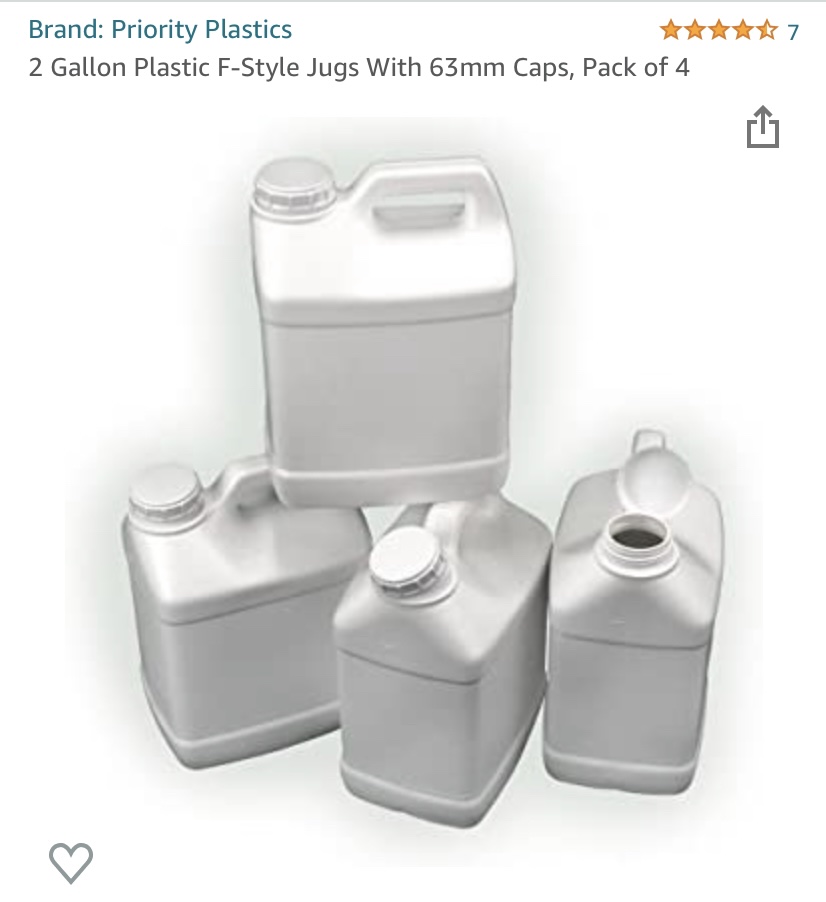
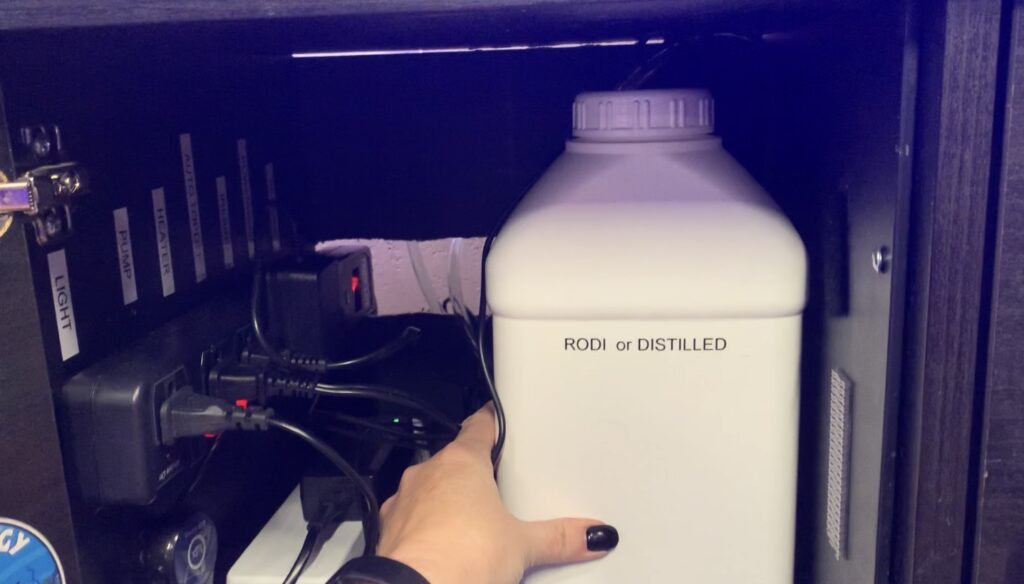
Note – the ATO does not include the reservoir, you can buy an ATO reservoir or use some other kind of container as long as it will not leach anything into the water over time. I use one of these 2 gallon jugs which I found on Amazon, they came in a set of 4 and I use the others for storing/carrying saltwater/RODI water, they are made of HDPE food grade plastic. I drilled 2 holes in the cap for the tubing and plug.
The dual sensor (Duetto) should be positioned with the cord on top
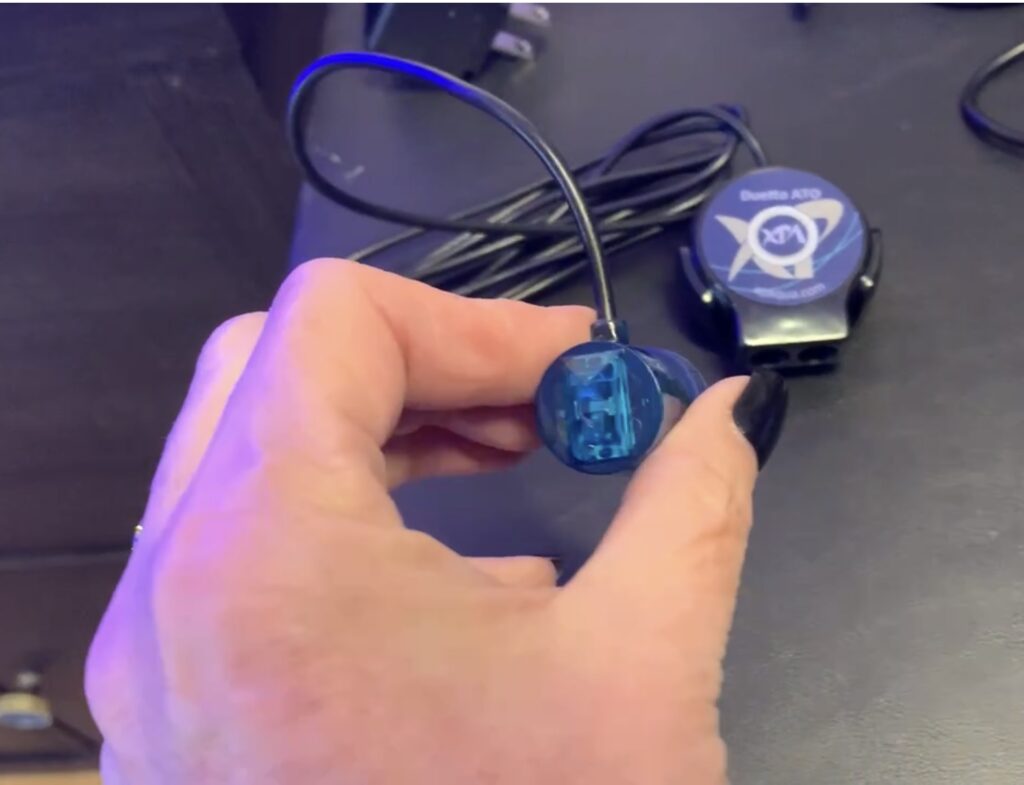
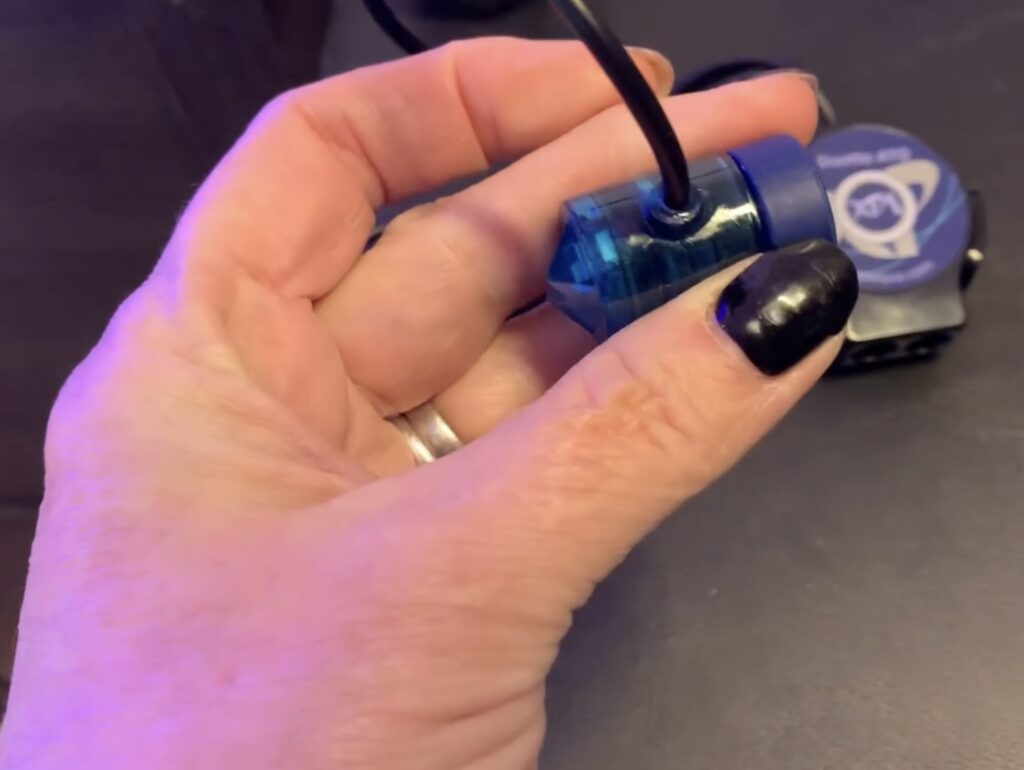
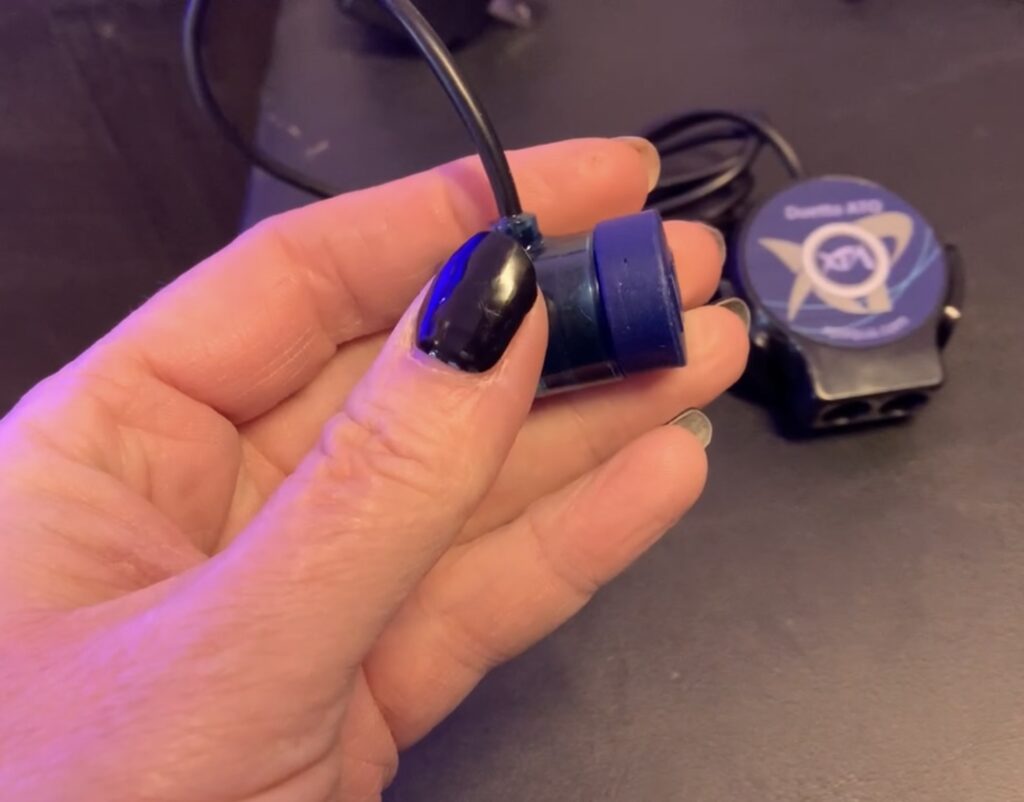
The controller with visual and audible alerts, tells you a number of things, including when it runs low and also when it hasn’t filled at all in 72 hours, I like audible alerts since I might not always remember to look at the controller!
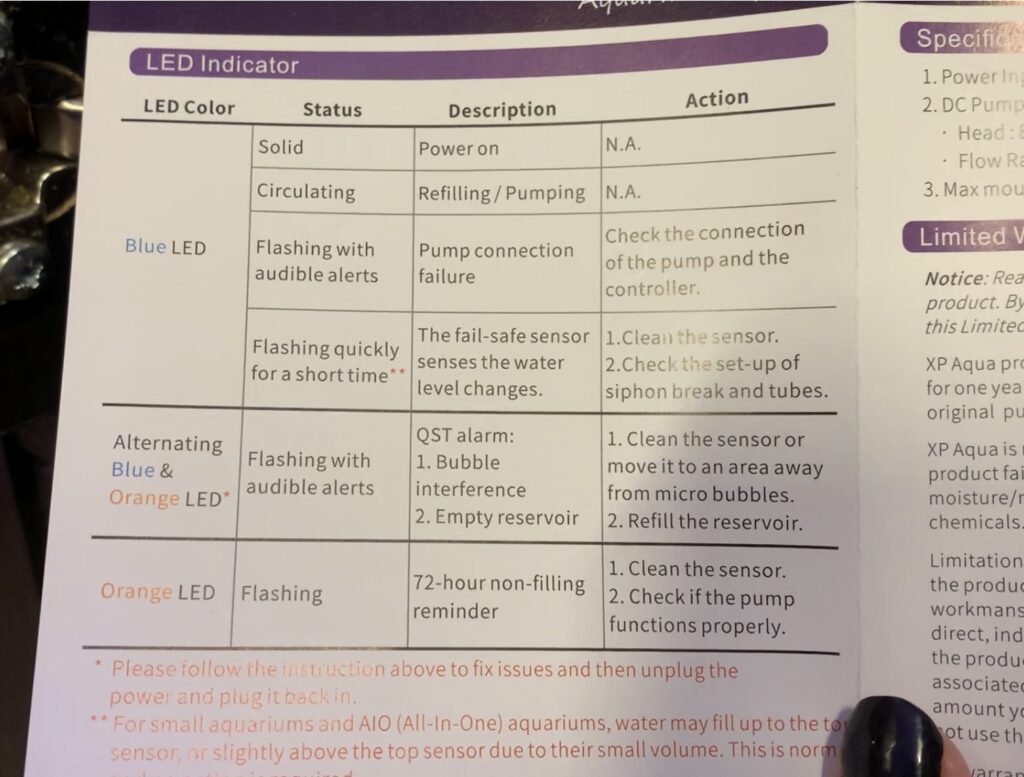
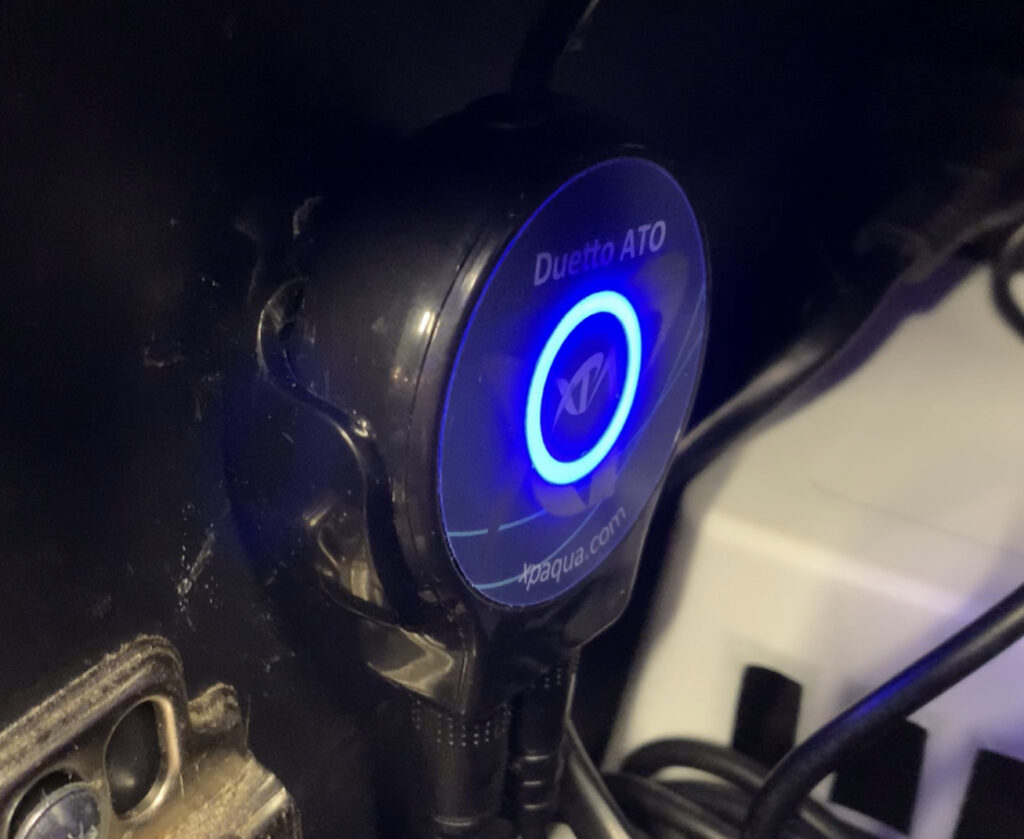
The Duetto ATO’s head/lift is about 8 feet – this tells you how high the pump can lift the water. This is important to know if your tank is up high and your reservoir is lower. I had a previous setup on top of a high shelf with the reservoir on the floor, so this came into play for me.
Positioning the sensor and refill tubing:
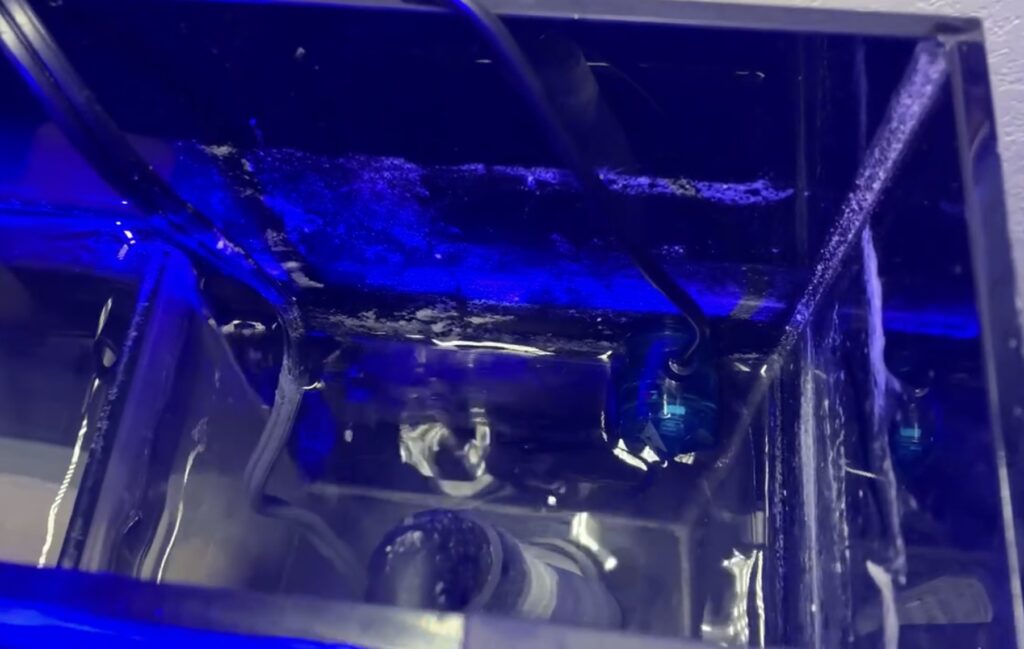
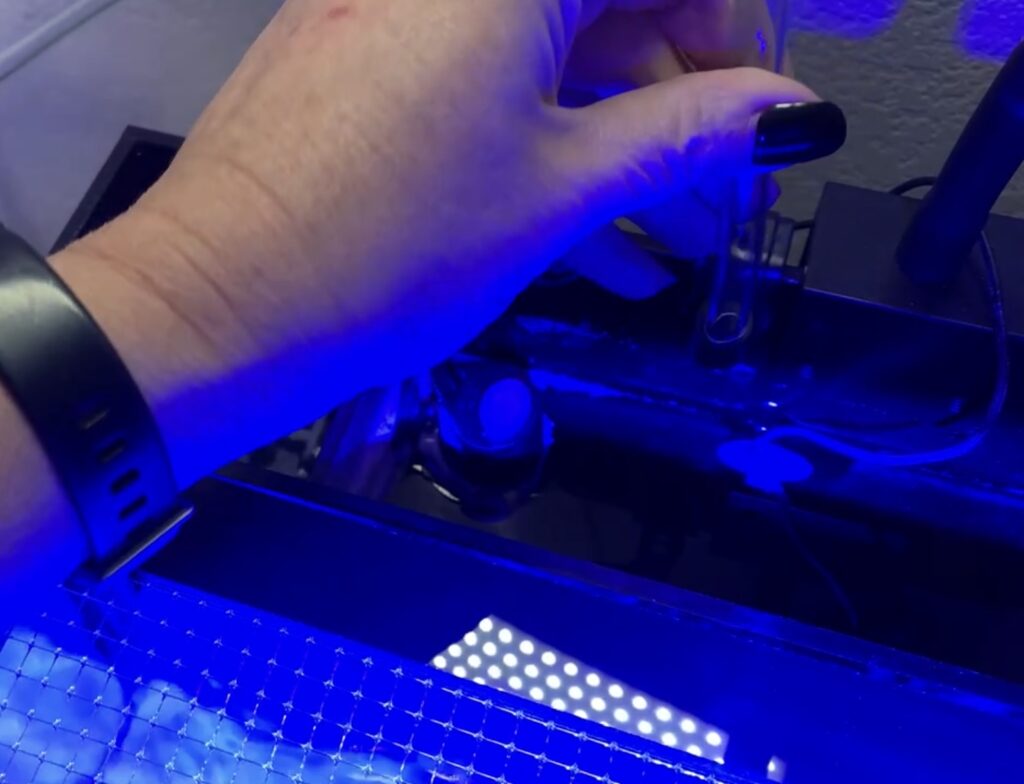
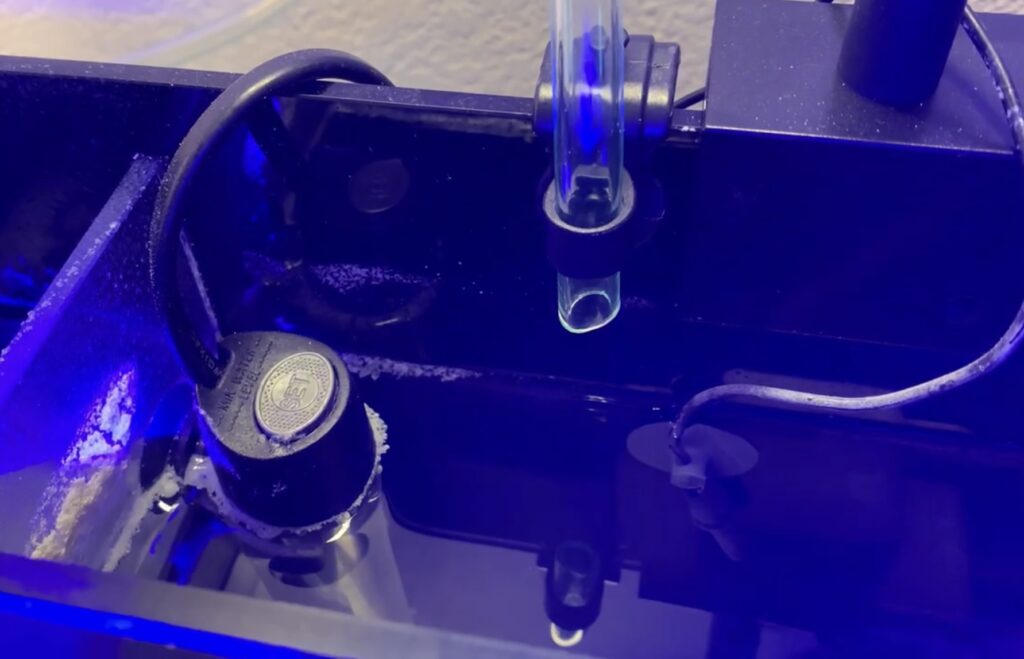
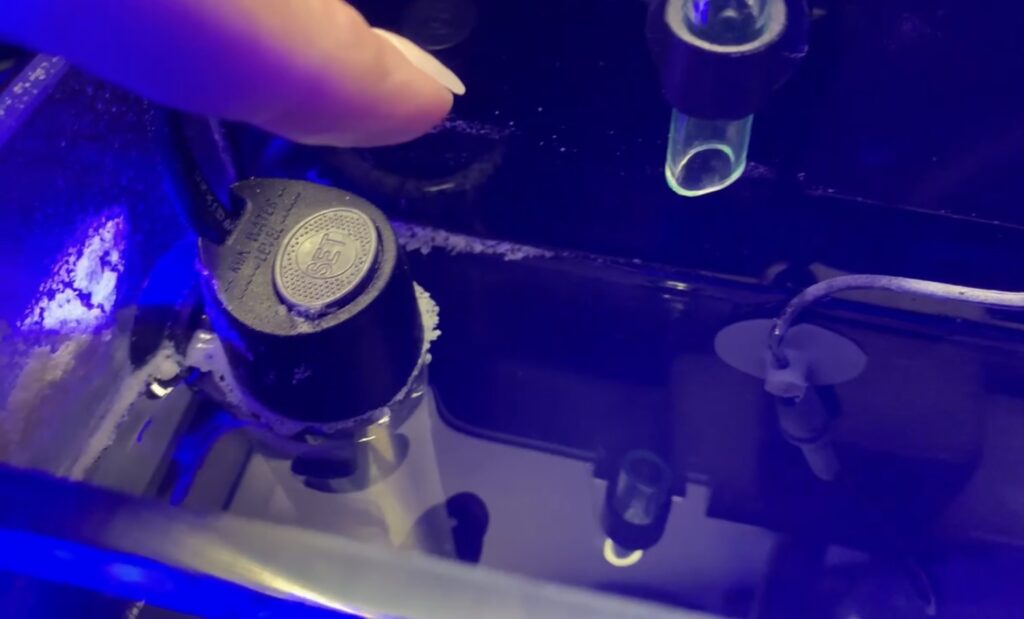
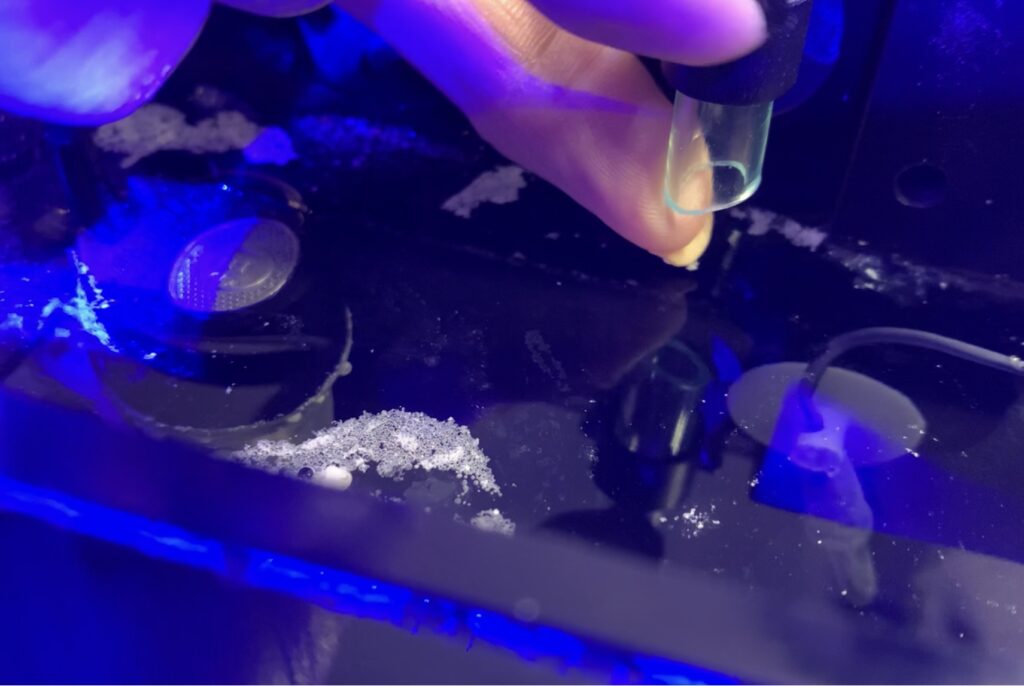
- The ATO’s sensor should go in the part of the tank that experiences lowered water level from evaporation, usually it’s the return chamber with pump, with the Studio 12 tank it’s the 3rd chamber
- Place sensor at the level you want your water at when the tank is running, one inch below the baffle for the Studio 12
- Per the manual for this device, the refill tubing should not go into the same chamber as the sensor, so I positioned it in the middle chamber
- VERY IMPORTANT: The tip of the refill tubing should never dip into the tank water or it can cause a back siphon. Make sure the tip is high enough it will never touch the tank water, both when the pump is running and when the pump is turned off for doing water changes/feedings, because in many tanks including this one, the water level changes when the pump is running vs when it is off
- I did not know about this when I set up my first ATO in another tank and a back siphon developed draining the water from my tank into my reservoir… so be aware of this!!
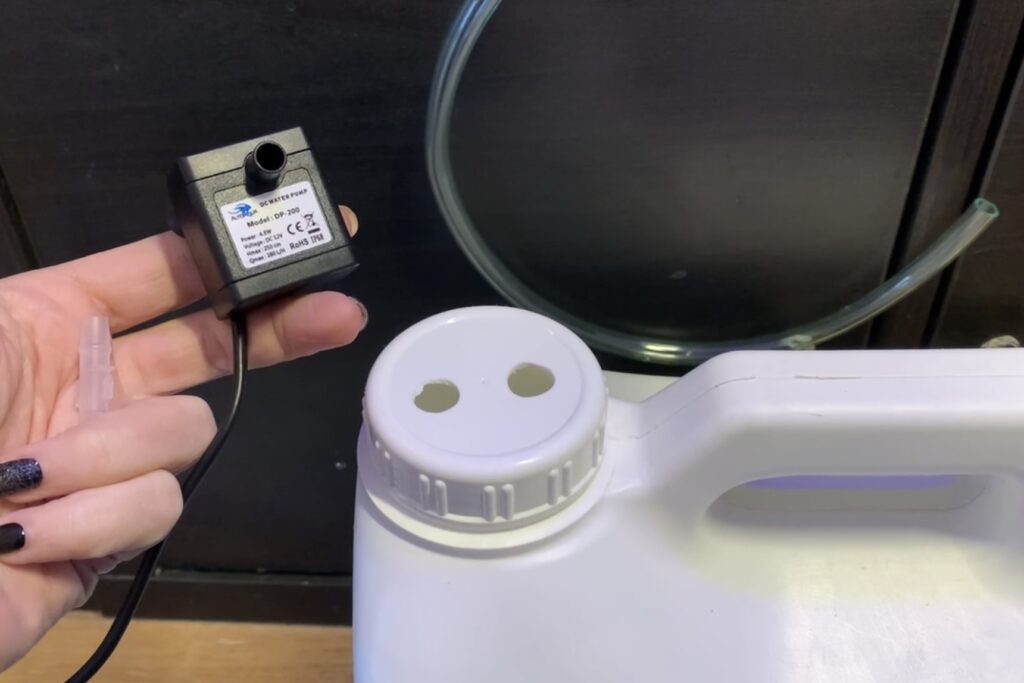
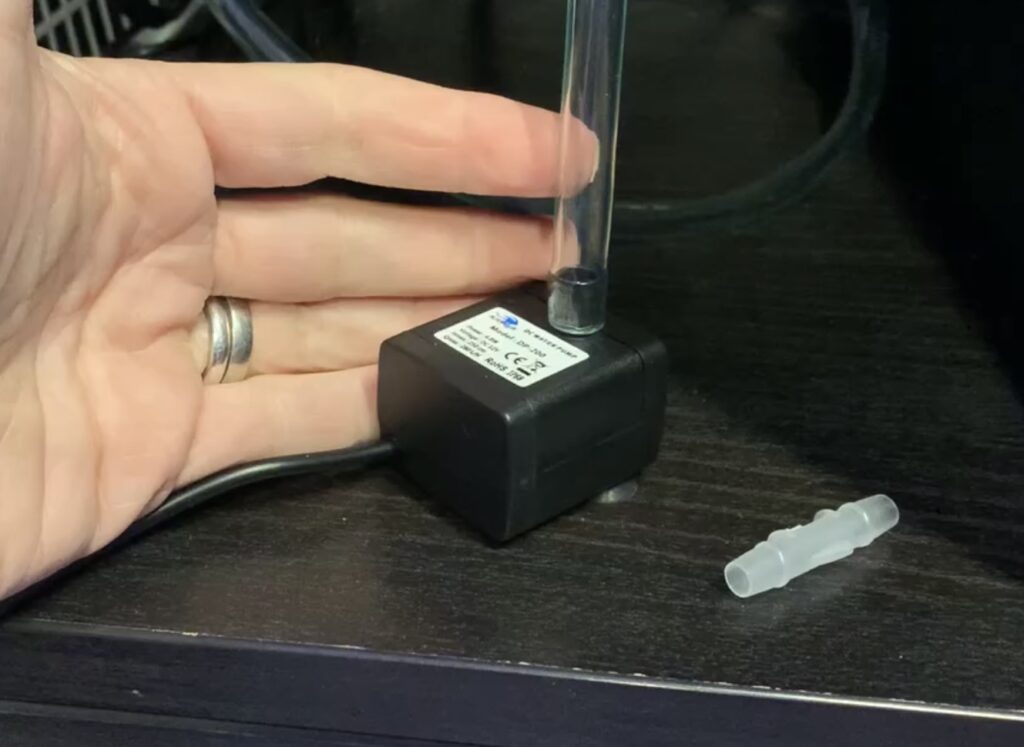
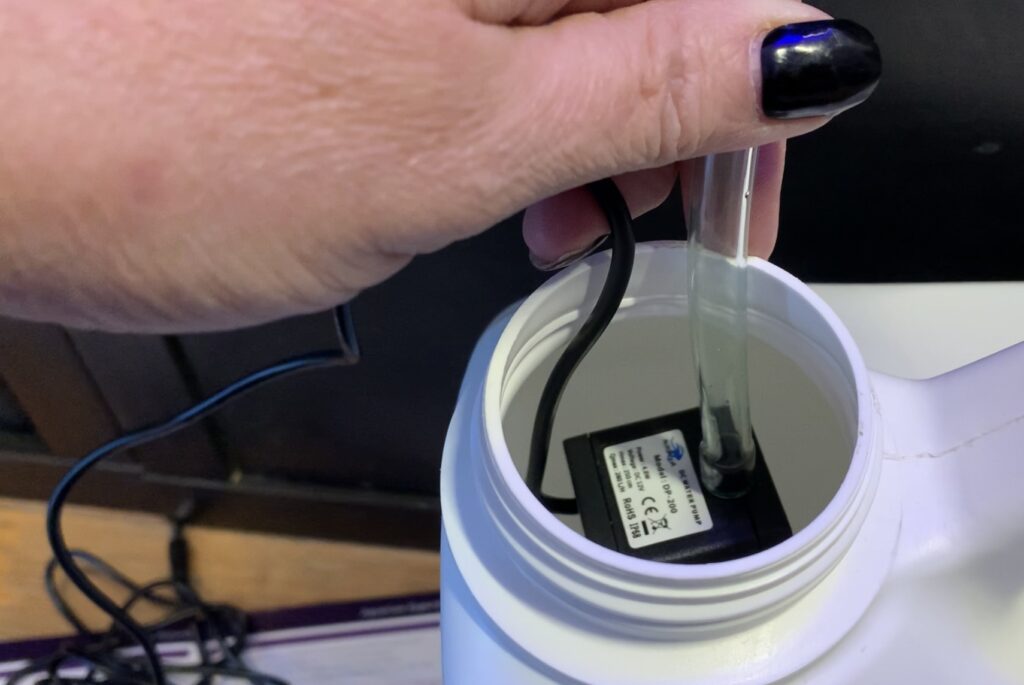
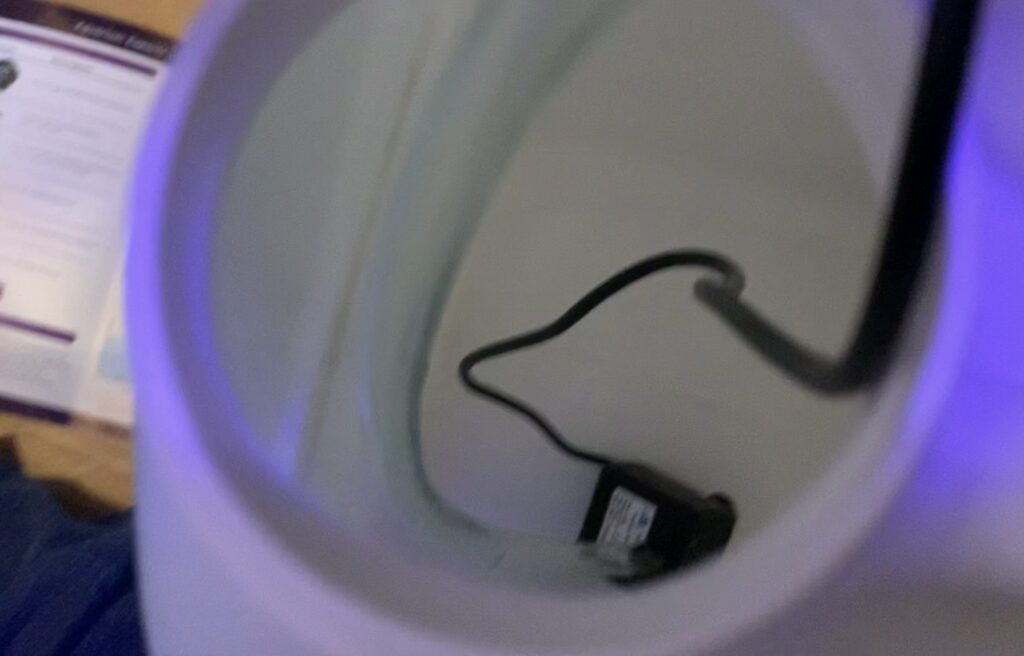
to add siphon break
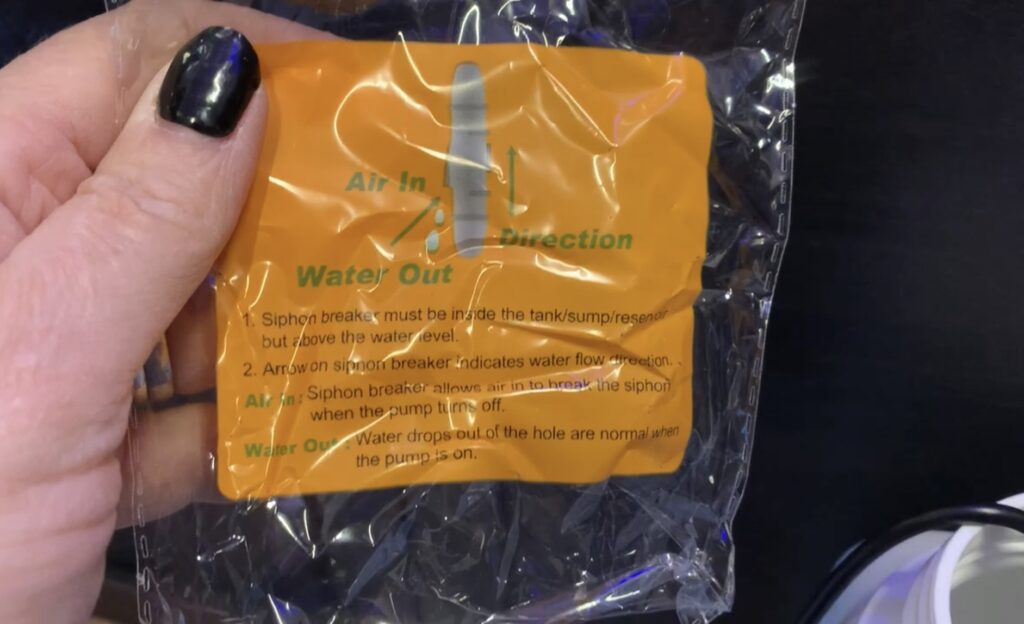
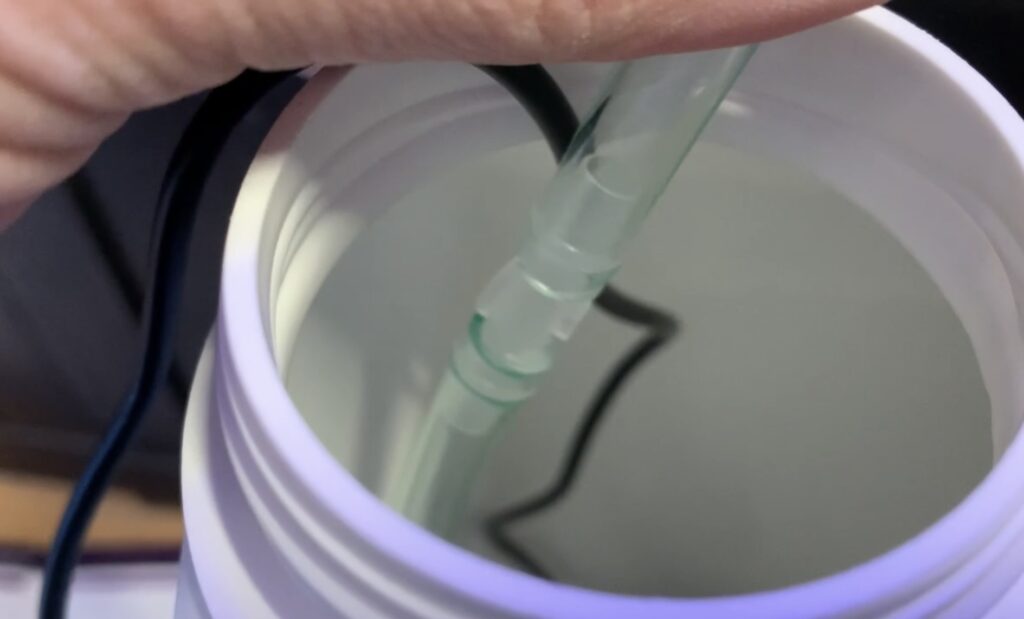
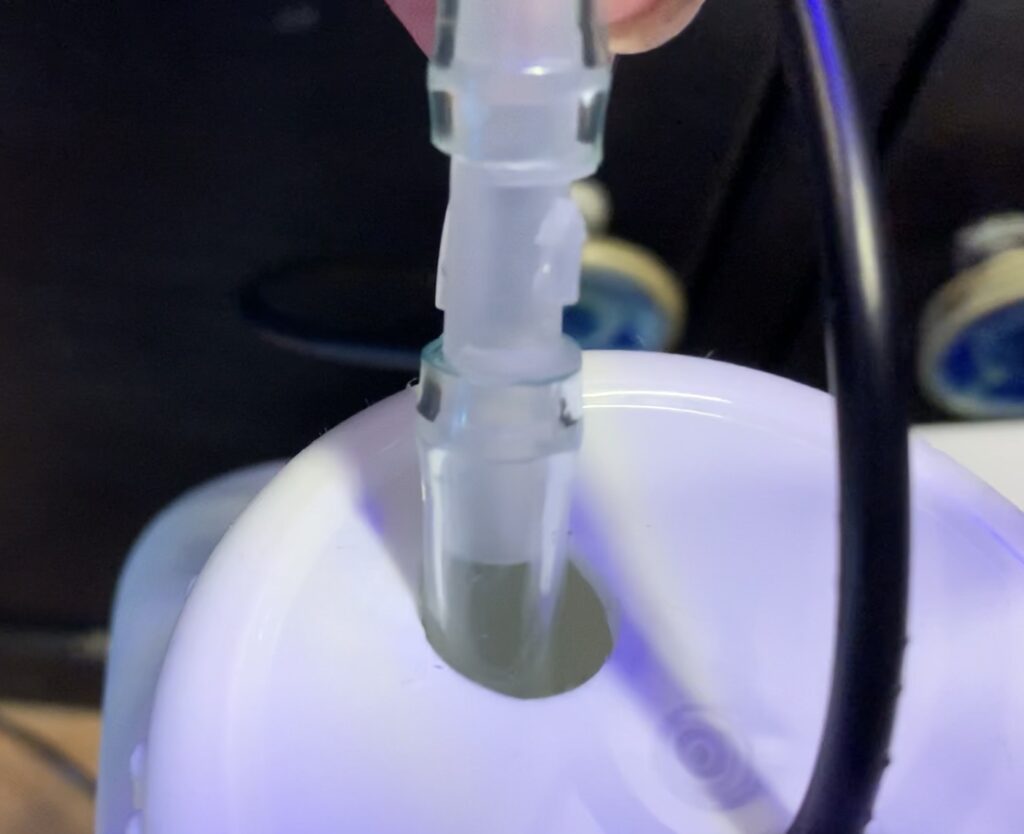
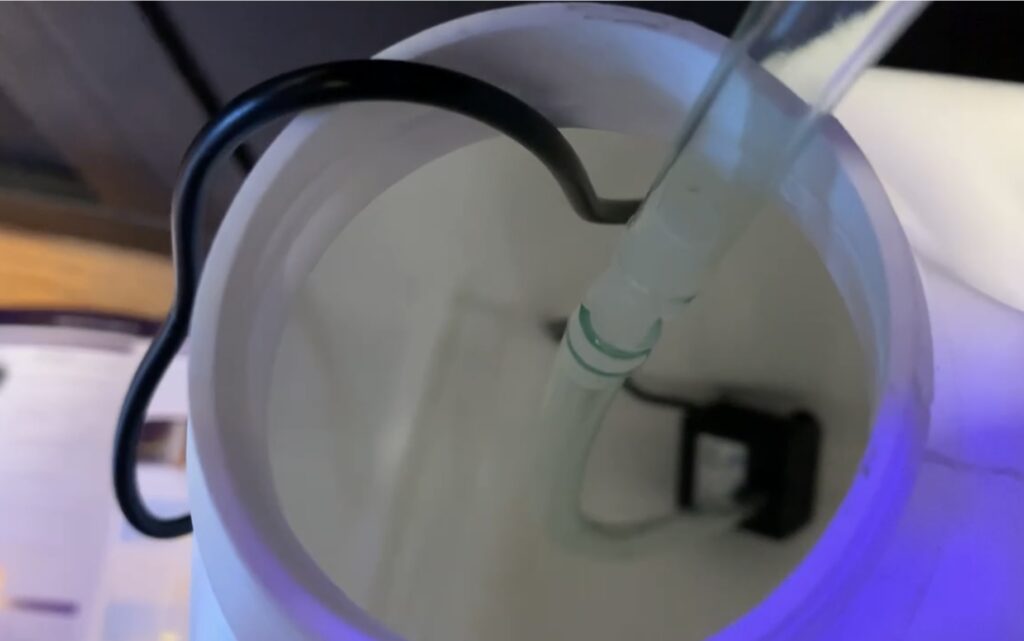
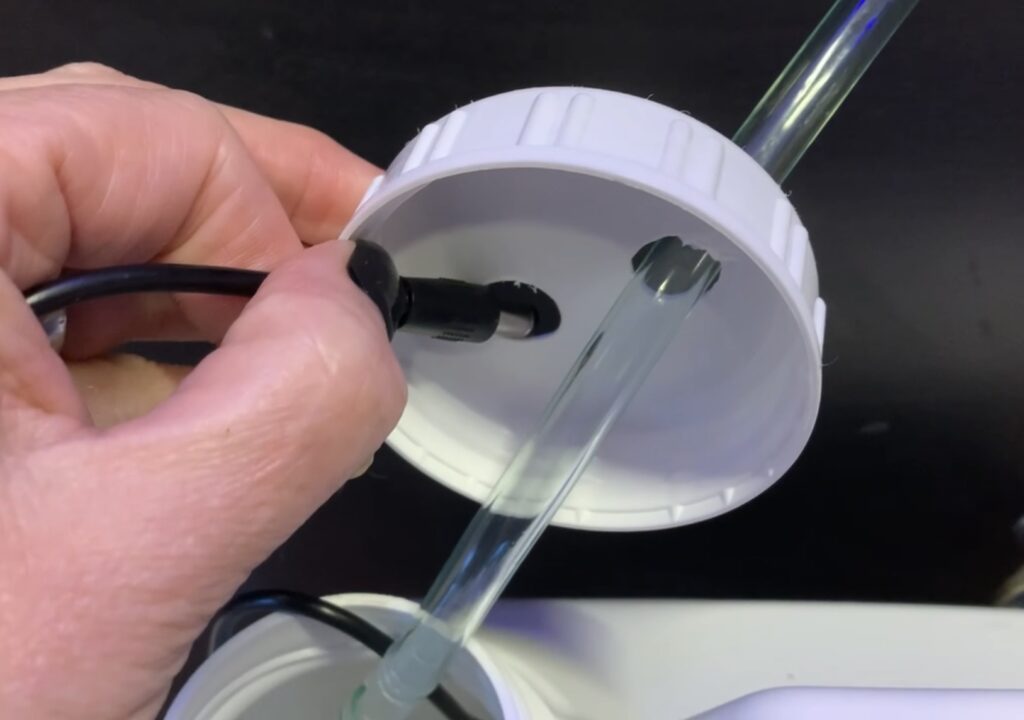
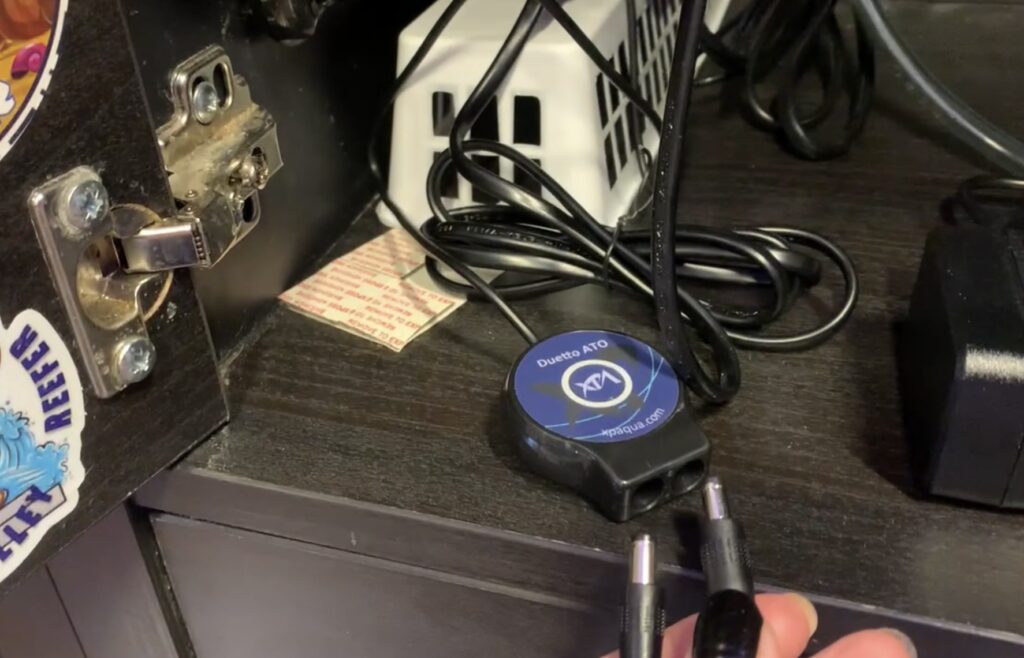
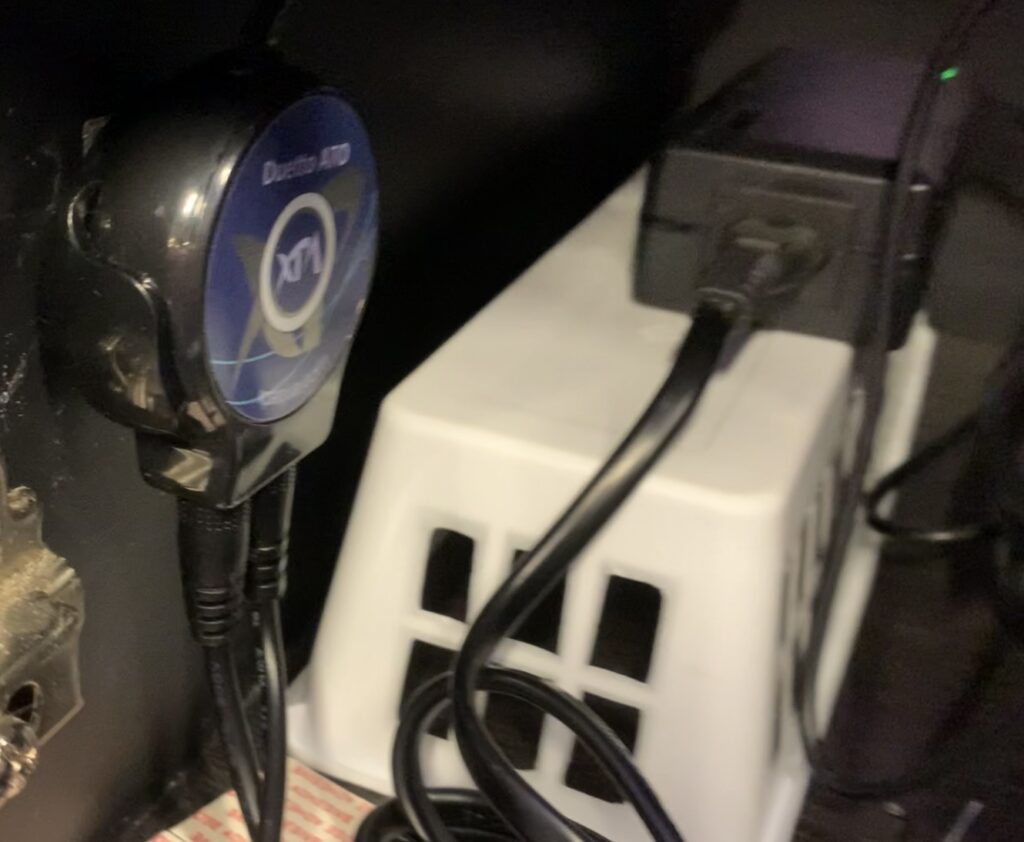
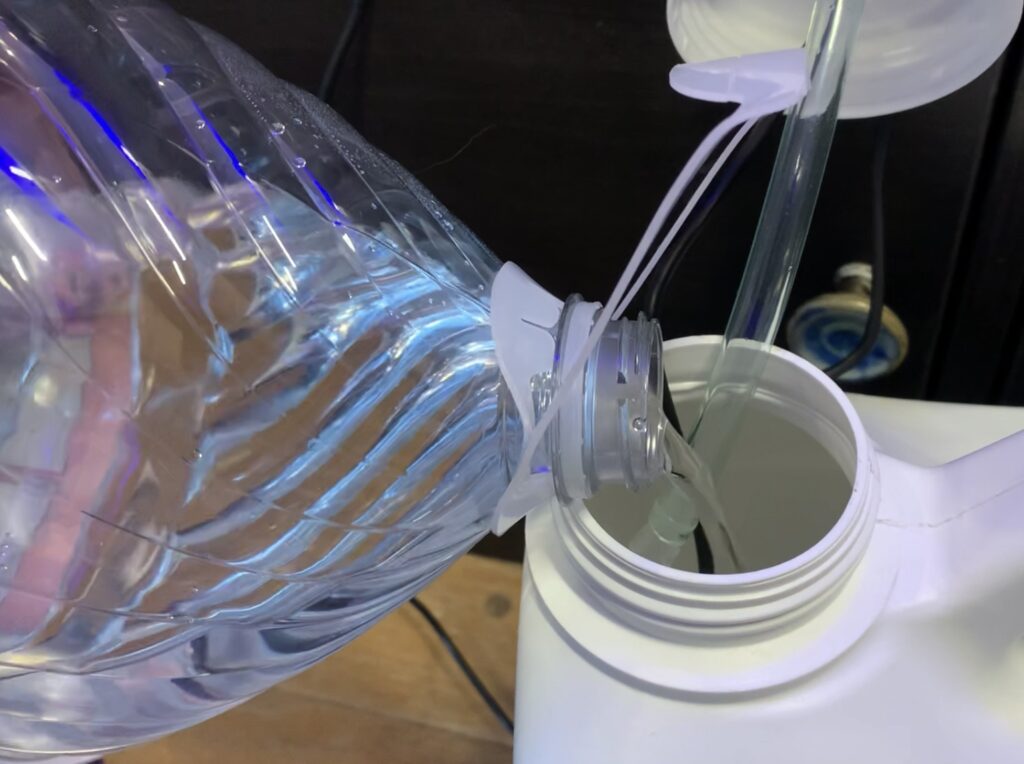
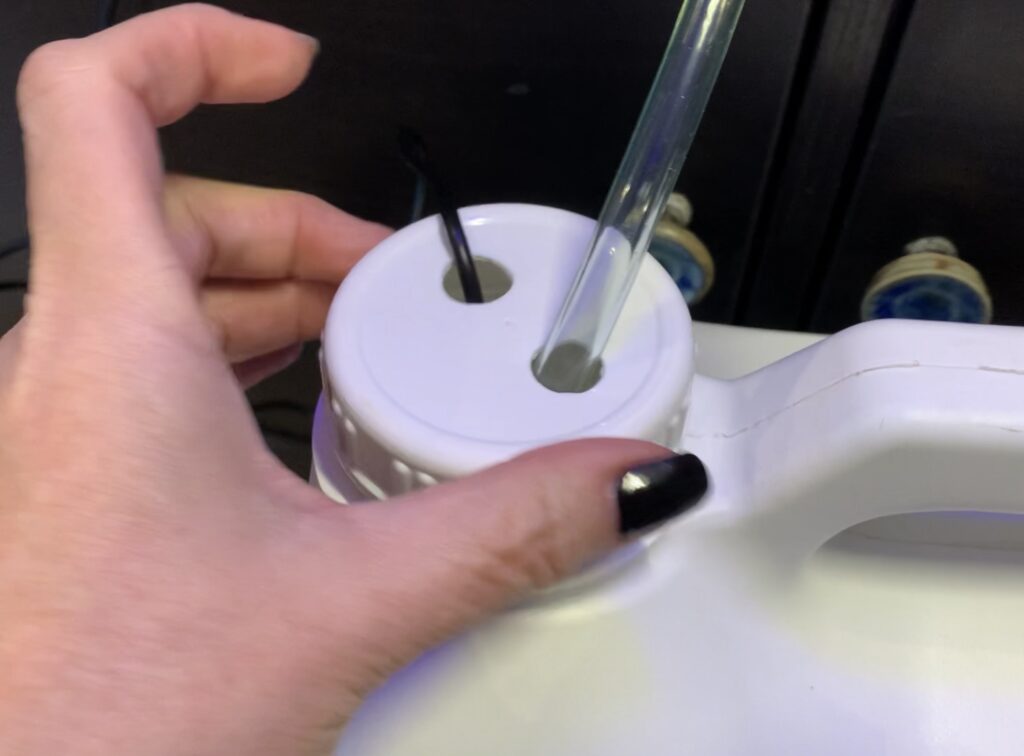
Be sure to use the siphon break. It should be installed in the correct direction with the arrow pointing in the direction the water will go to top off the tank. The siphon break has a tiny hole that water drips out of, so you want to be sure it’s inside the reservoir, but placed so it’s always above the level of the top off water.
When you plug in the ATO, make sure you have a drip loop. If you don’t know about drip loops or GFCI protection, you can check out my previous post that talks about electrical considerations when keeping an aquarium.
When you power it on, you can see the controller turns on and the LED and audible alert indicate the status.
I won’t have to turn the ATO off during feeding when I turn the pump off, because the water level rises up higher in the back chamber, over the level of the sensor, so it won’t be triggered to fill, BUT I will need to remember to turn off the ATO during a water change, when I remove actual saltwater from the tank… during a water change we are removing the dirty saltwater and have to replace it with new saltwater,
WE DO NOT want the ATO to get triggered to fill when the water level drops in the tank during a water change and have it refill the tank with pure distilled water, that would dilute the saltwater in the tank and could kill our livestock! So BE SURE to always turn off the ATO any time you do a water change until the tank is refilled with new saltwater and running again… you want to turn on your pump and make sure you added enough new saltwater so the water level is in the correct place one inch below the baffle in the third chamber… only then you can turn your ATO back on again!
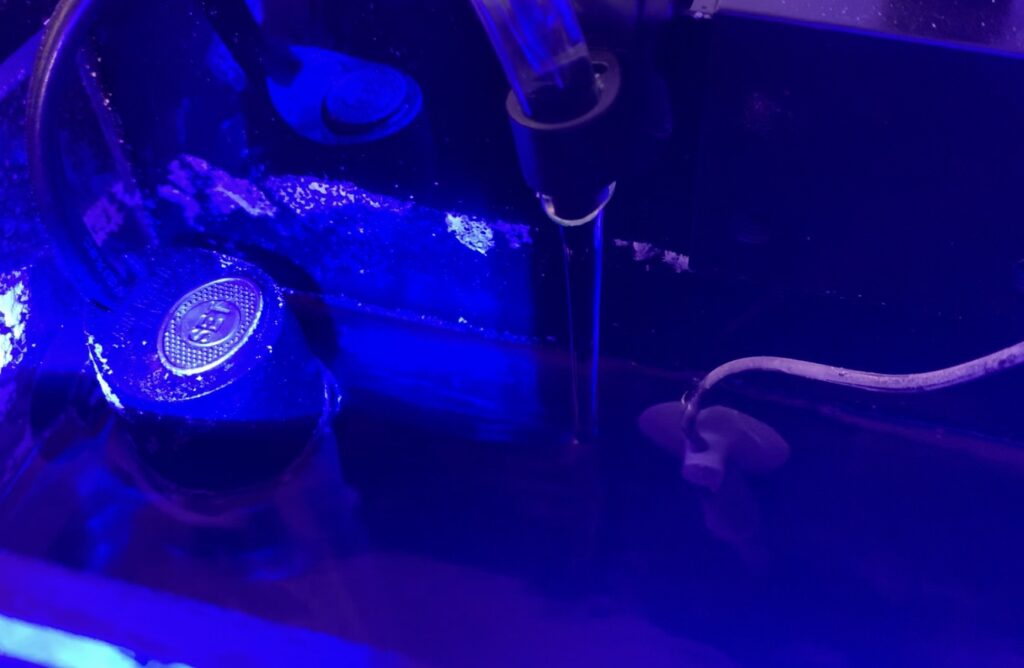
So that’s how you set up the ATO! Continue to keep an eye on it after setting it up to make sure it’s functioning as expected. You’ll want to figure out about how often you have to refill the reservoir so you can try to stay on top of it, although it does have the alert… I typically check my reservoir when doing weekly water changes.
Next Steps & Future Topics
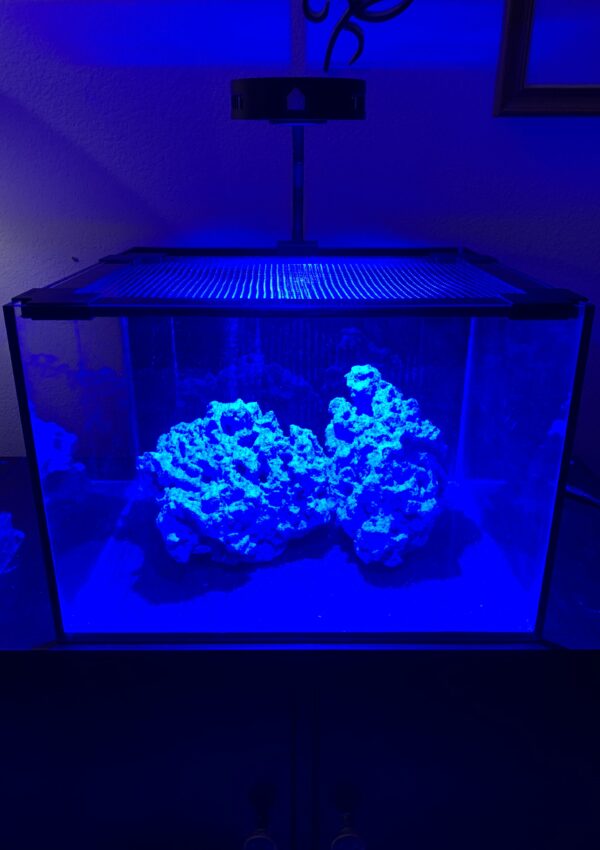
Now that we know the temperature, salinity, and water level can be maintained; the equipment is all working; and I’ve set up my Reef Casa Halo light according to the recommendations on the Reef Casa website, it’s looking good!
I’m waiting for the cycle to complete – checking my ammonia, nitrite, and nitrate levels daily since I’m getting close.
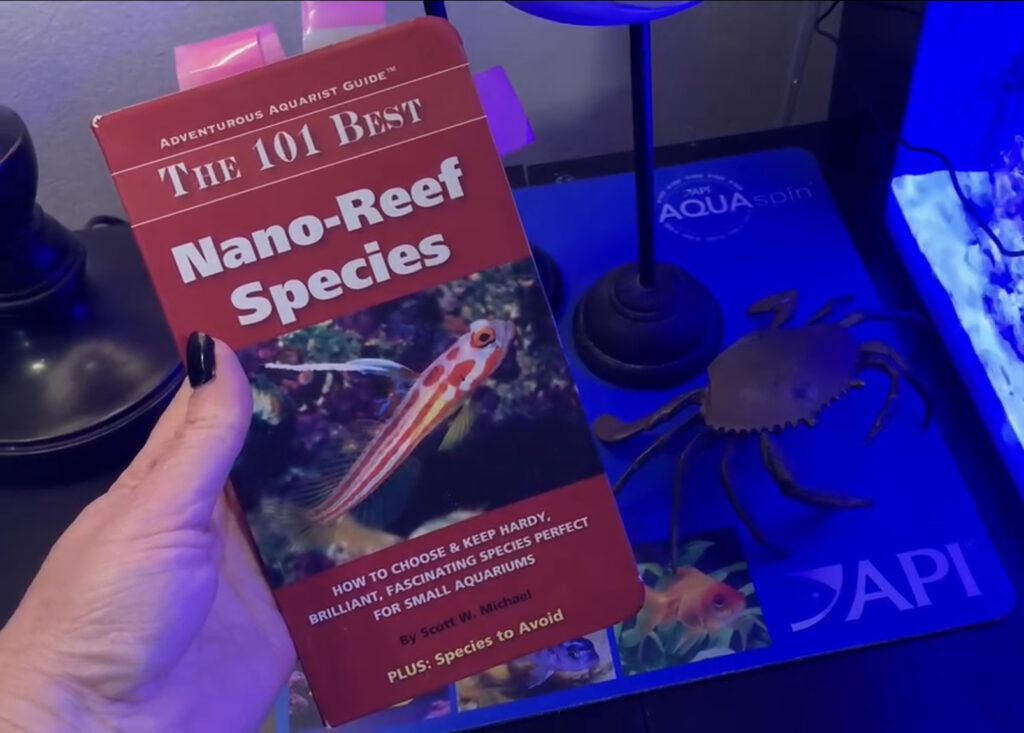
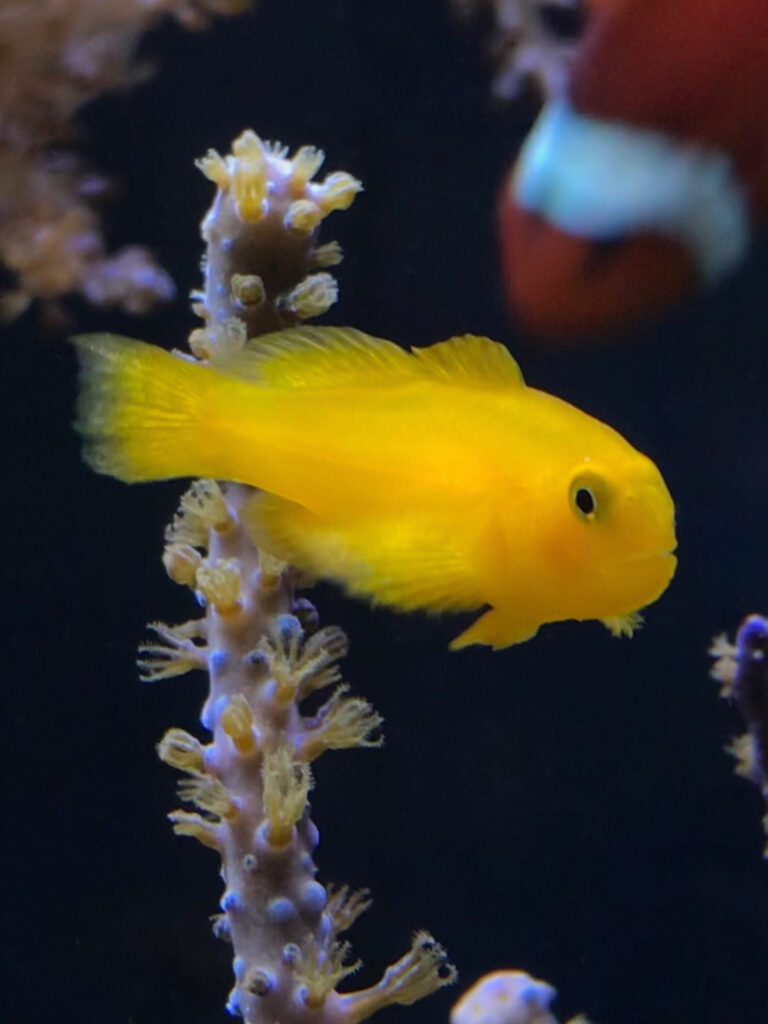
If I didn’t already have my first fish (Hank!), waiting to be relocated into this tank, I would be researching fish options right now and deciding on my first 1-2 small fish to add once the cycle is complete. Adding fish will be the next step. Great places I like to look while deciding on fish for my nano tanks include the book The 101 Best Nano-Reef Species and the Live Aquaria website (see below).
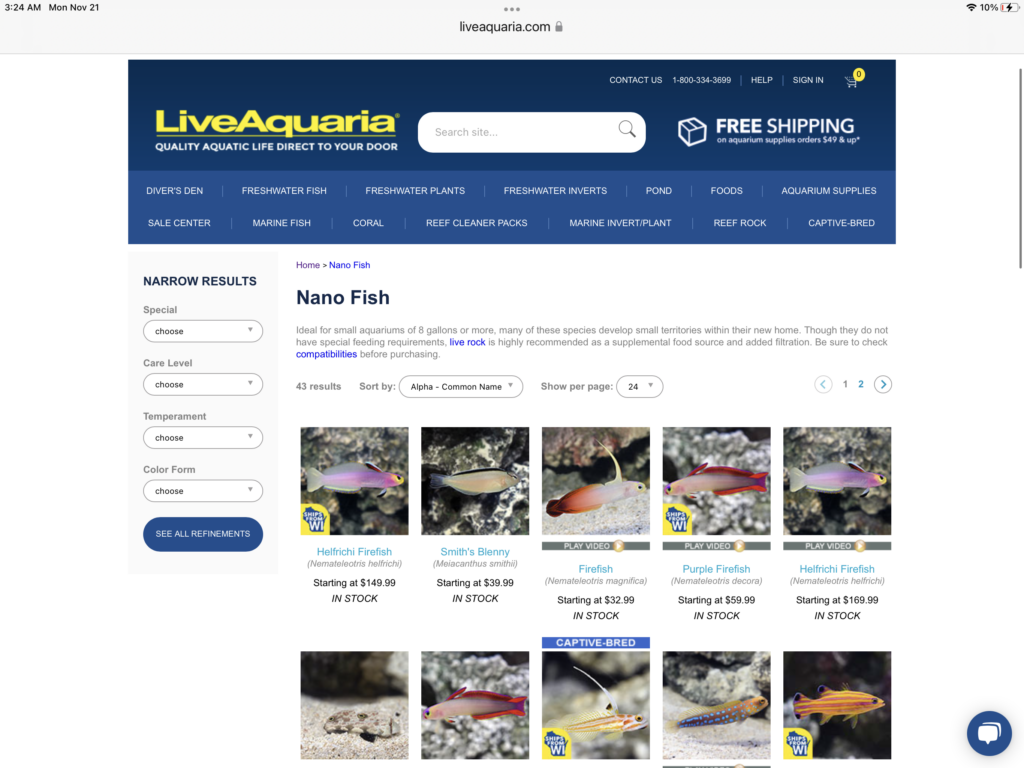
Since nano tanks are so small, you are very limited as far as what fish and how many you can add to your tank, so as you’re deciding, you may want to think about fish you can add that not only look beautiful or interesting, but also think about choosing fish that will be able to do different jobs in the tank such as eating pests and algae. You also want to choose fish that will be pretty hardy and will get along with each other.
I will talk more about my stocking ideas and adding my first fish to this tank in a future post, so stay tuned…. and happy reefing!






Leave a Reply